Modifying the Release Template
Contents
This tutorial is intended for Policy Drools Applications developers who would like to test their code using the PDP-D in Eclipse instead of installing in a lab. The example for this tutorial will walk through making a change to the Amsterdam Control Loop Template, building the archetype project, and instantiating a controller with the PDP-D.
Installing the Archetype Project in Eclipse
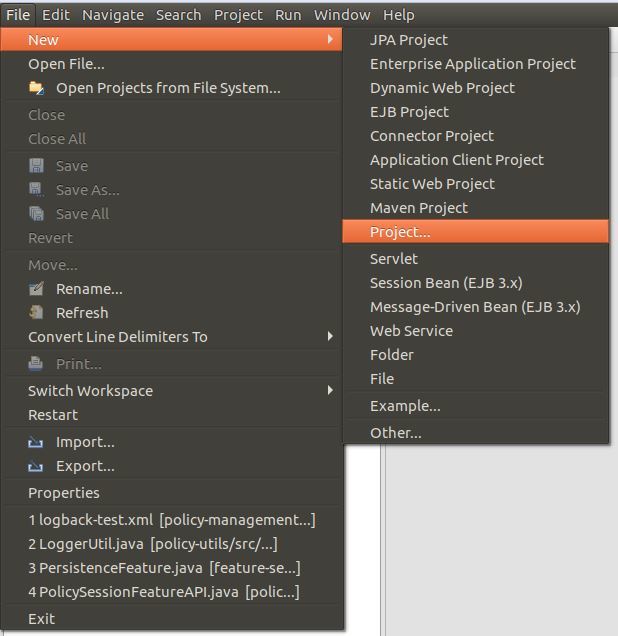
STEP 1: First, open the drools-pdp project in Eclipse and navigate to File → New → Project…
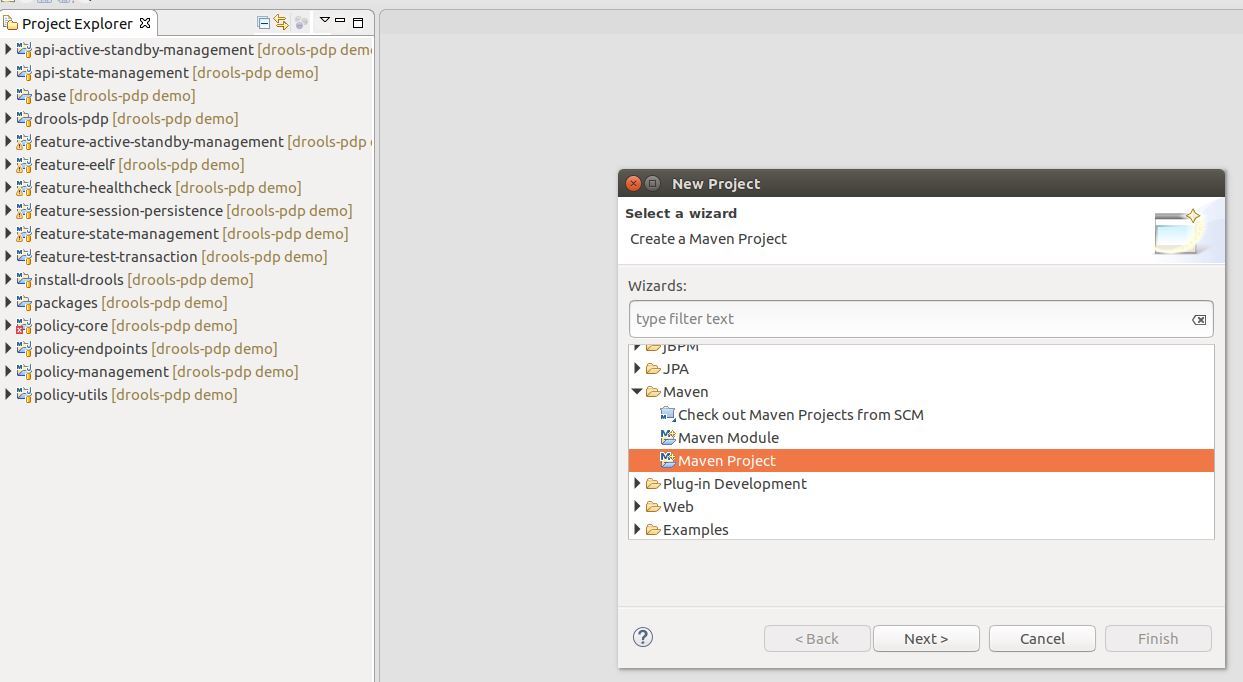
STEP 2: Navigate to Maven → Maven Project
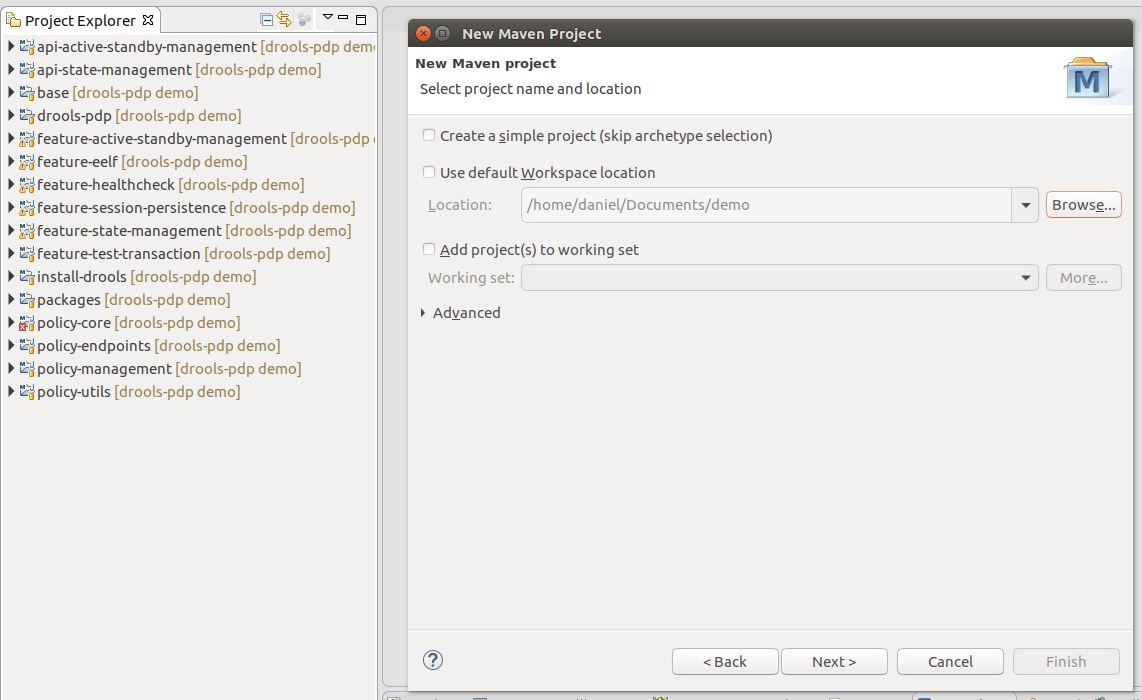
STEP 3: For demo purposes, the location of the project will be put in Documents/demo. Hit next to proceed.
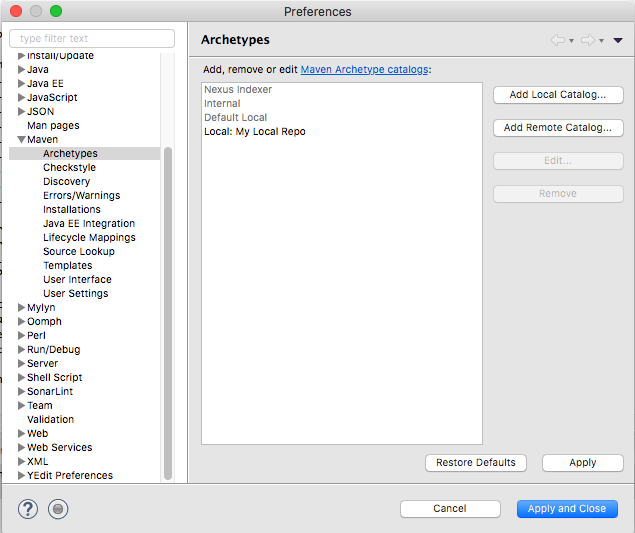
STEP 4: Click “Configure” near the top right.
STEP 5: Add a Remote and/or a Local catalog
STEP 5.1: Add a Remote Catalog to find the ONAP staged drools-applications
STEP 5.1.1: Click “Add Remote Catalog…”
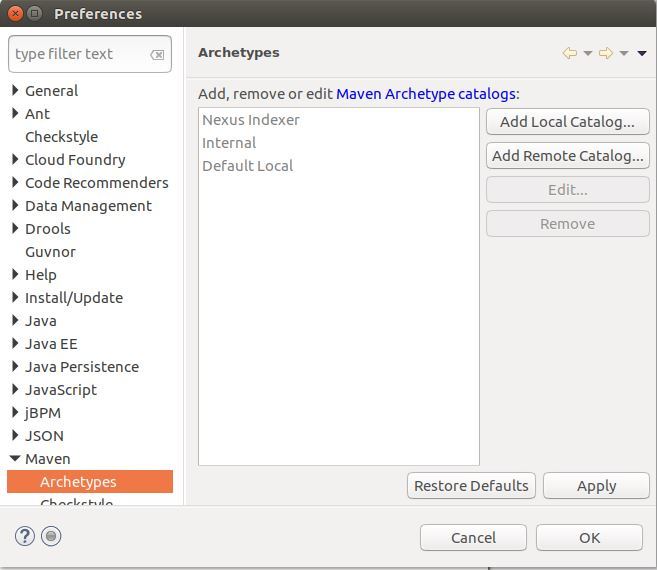
STEP 5.1.2: Add the ONAP Staging repository archetype-catalog.xml with a description if desired. Click “OK” then “Apply”, then “OK”.
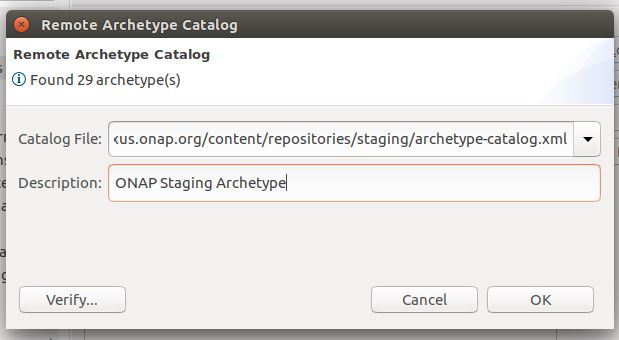
STEP 5.1.3: The ONAP staging archetypes are now an option:
STEP 5.2: Add a Local Catalog to find a local drools-applications in your .m2 local repository
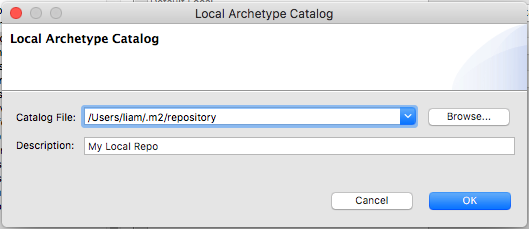
STEP 5.2.1: Click “Add Local Catalog…”
STEP 5.2.2: Browse to or type in the path to your .m2 repository, give it a name and click “OK”
STEP 5.2.3: The new local repository appears on the catalog list, click “Apply and Close”
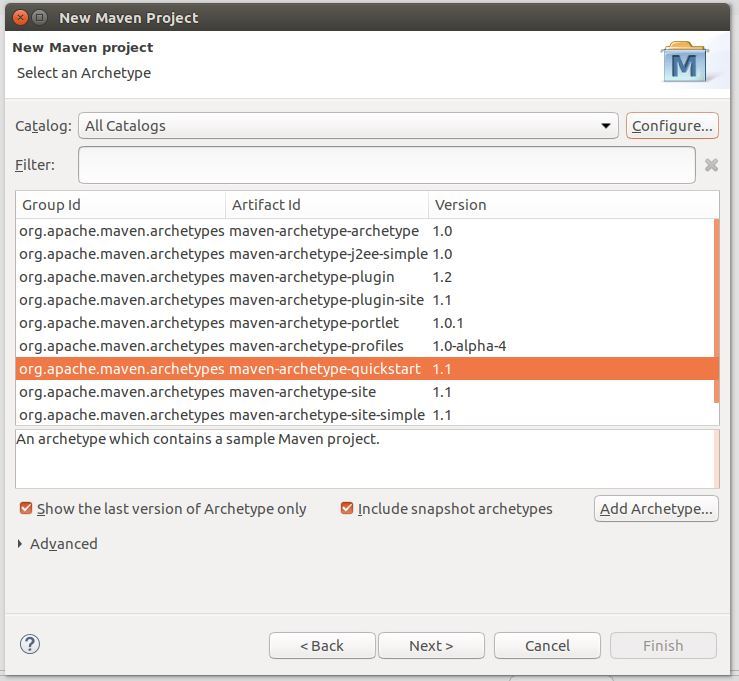
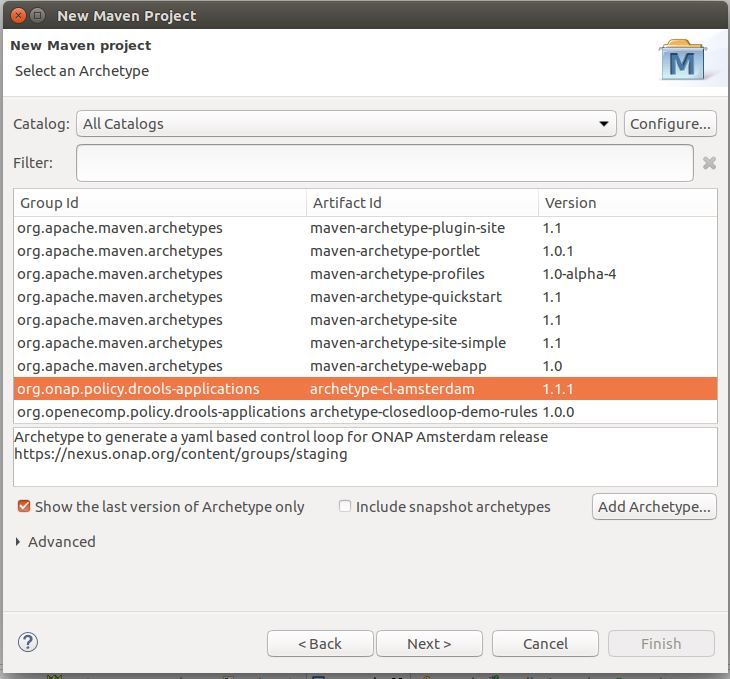
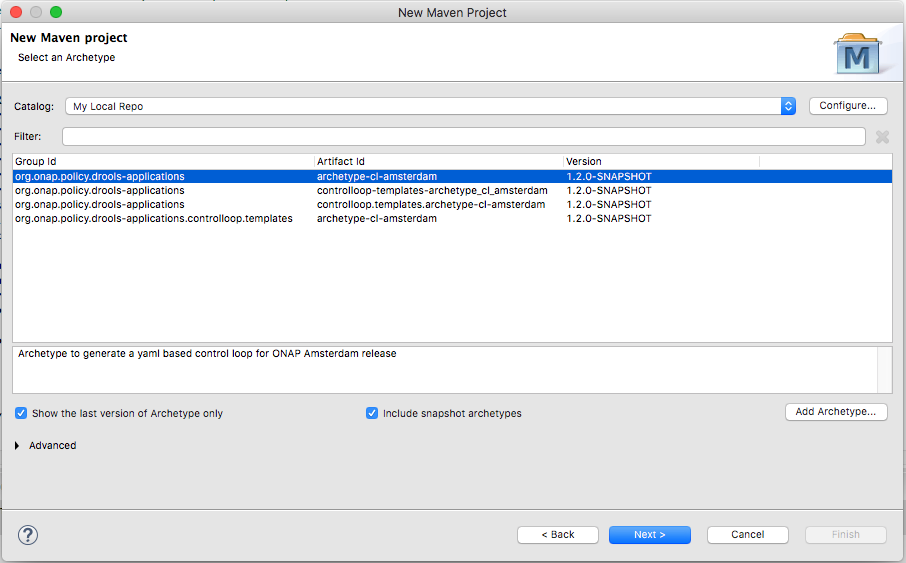
STEP 6: If you wish to use a snapshot version of drools-applications, make sure to check the “Include snapshot archetypes” box. Highlight the option with the Artifact Id “archetype-cl-amsterdam” and click next.
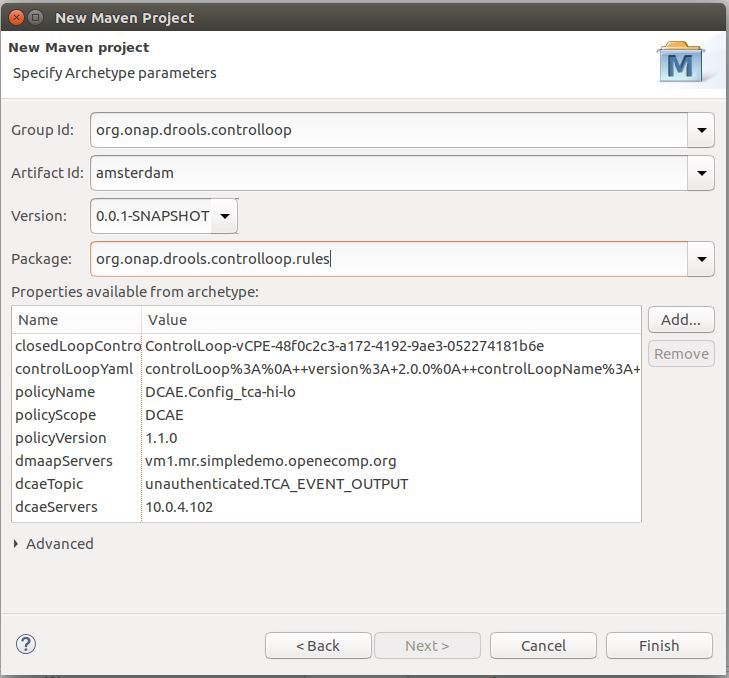
STEP 7: The following screen allows the user to modify some of the configurable parameters of the control loop. For this demo the default parameters that are already populated will be used. Fill out the Groud Id, Artifact Id, Version, and Package and hit “Finish”. For the demo the following is used:
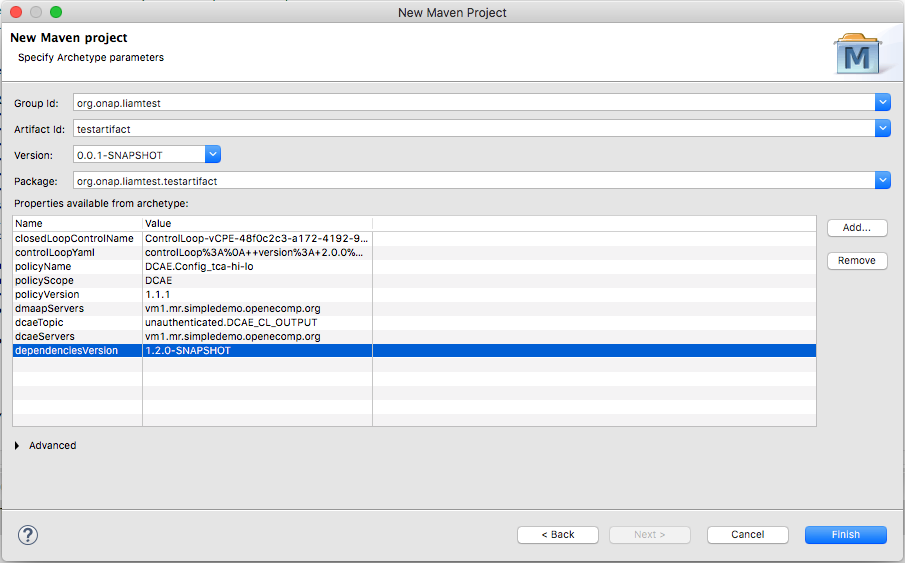
NOTE: If you are using a snapshot version of drools-applications. make sure that the “dependenciesVersion” variable value you specify matches the drools-applications artifact versions
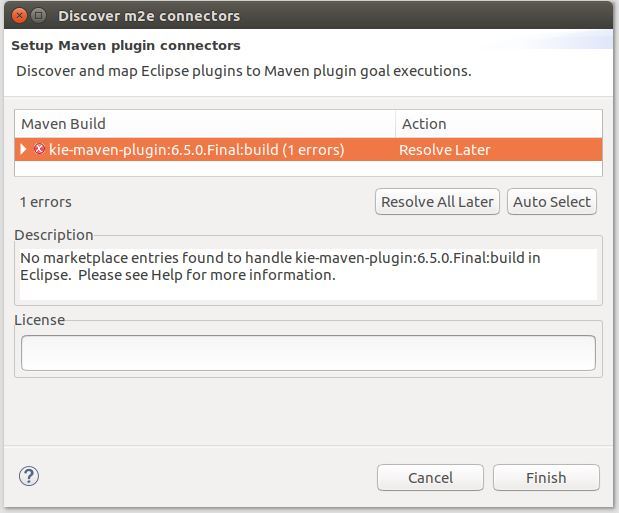
STEP 8: Depending on the IDE in use, an error may be generated about handling the kie-maven-plugin:6.5.0.Final:build plugin. This can be ignored, click “Finish” and then “OK” if a warning pops up about having build errors.
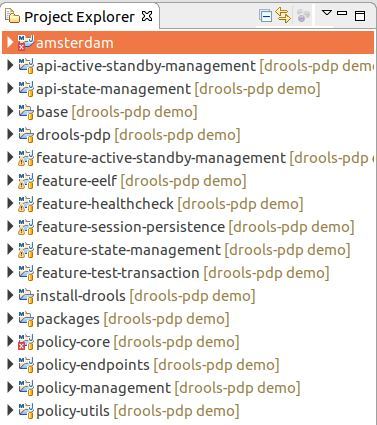
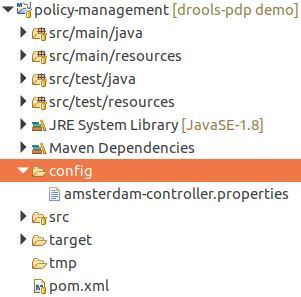
STEP 9: Amsterdam can now be seen in the Project Explorer:
Modifying the Amsterdam Template
STEP 1: Expand the amsterdam project and “src/main/resources”. The drl generated from the archetype will be present as follows:

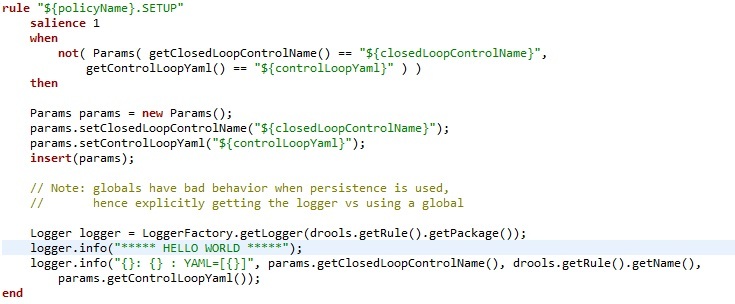
STEP 2: Now a change will be added to the drl from above. For this tutorial, a new logging statement will be added that will show in the console of Eclipse when the changes are tested. We’ll add this in the SETUP rule.
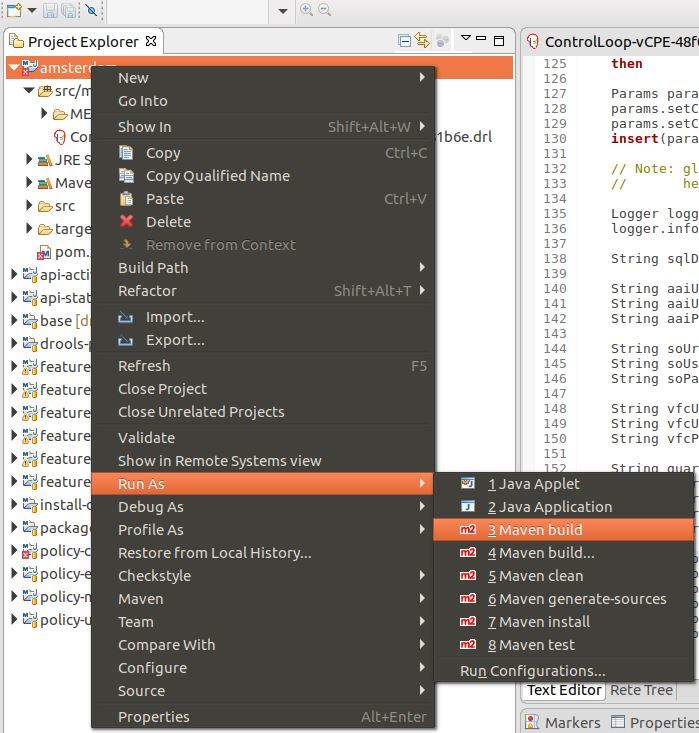
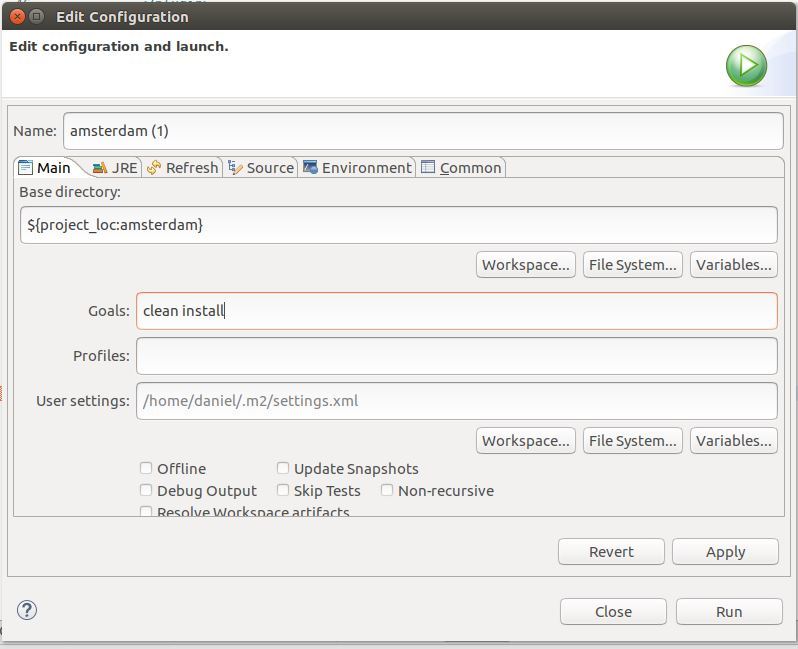
STEP 3: Right click on the Amsterdam project, hover over “Run As”, then click “Maven build”.
STEP 4: For the goals type “clean install”, click “Apply” and then click “Run”.

Running the PDP-D with the Amsterdam Controller
STEP 1: Copy the controller properties file that was generated from the archetype in amsterdam/src/main/config into policy-management/src/main/config
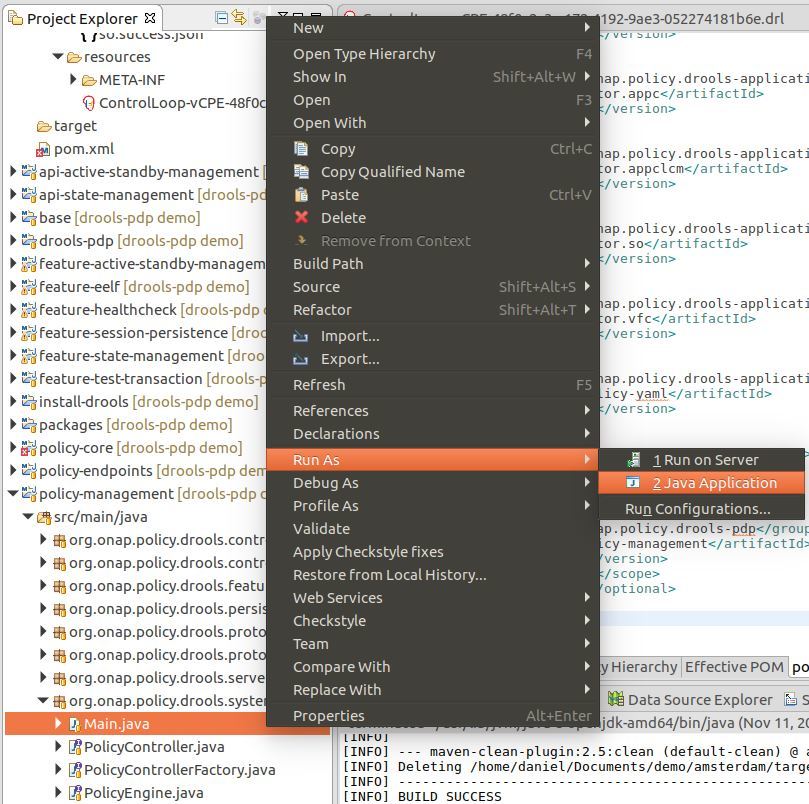
STEP 2: Go src/main/java and expand the package “org.onap.policy.drools.system”. Right click on “Main.java”, then hover over “Run As…” and click “Java Application”.
STEP 3: Search through the console for the logging statement “***** HELLO WORLD *****”. This indicates that the template change worked. Modifications can continue to be made and the Telemetry API can be used to interact with the PDP-D that is running in Eclipse and to test control loop flows.

End of Document