Installing Keys and Certificates in ODL for NETCONF over TLS
The purpose of this document is to help you with the setup needed for the installation of xNF keys and certificates inside of OpenDaylight(ODL) in SDNC.
To use NETCONF over TLS, ODL needs to be configured with Keys and Certificates to use for TLS connections.
Preparing Required Key and Certificate Files
The first step to adding the keys and certificates for ODL is to have configured a zip file made up of your keys and certificates that ODL needs.
- There are three files required in the zip file and those are:
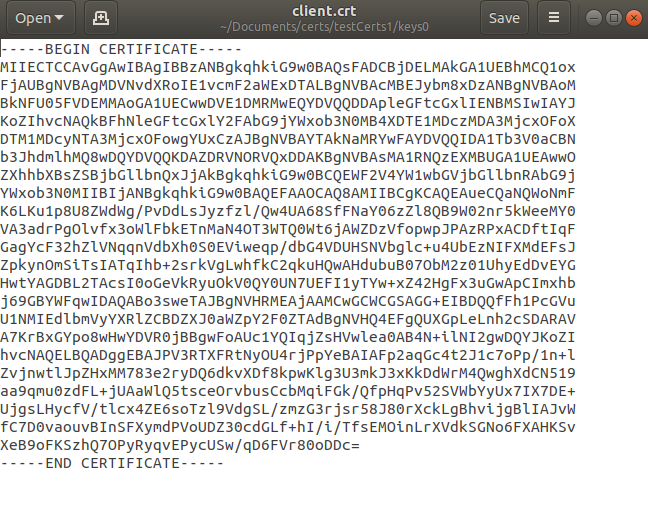
client.crt
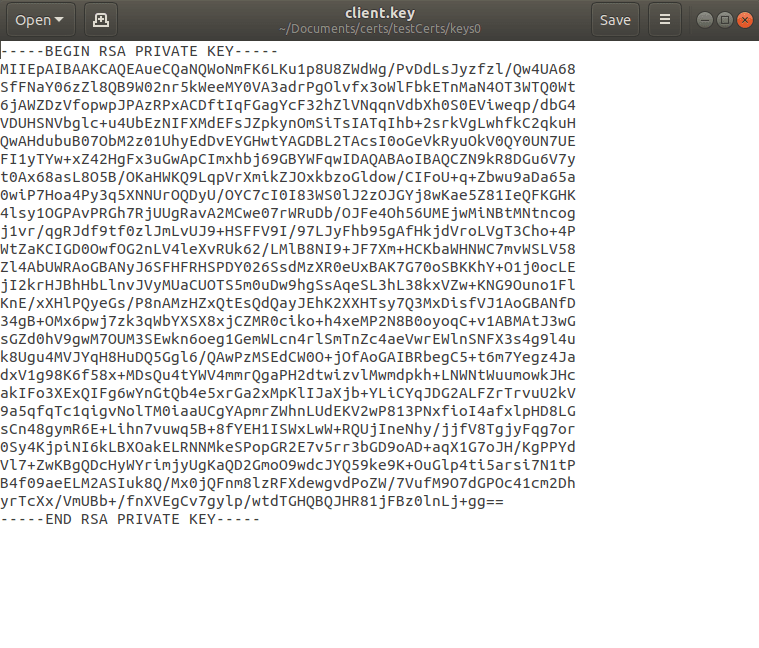
client.key
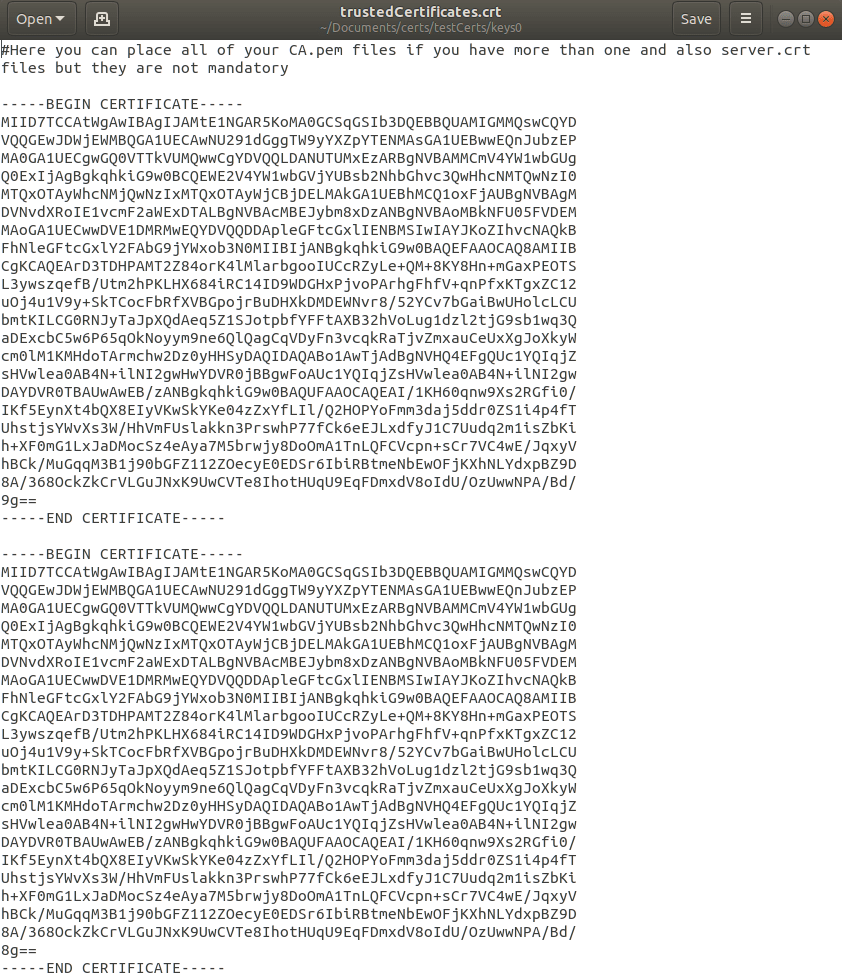
trustedCertificates.crt which contains a list of trusted certificates - normally one or more CA or sub-CA certificates, or xNF self-signed certificate(s) for testing only
Client.crt represents the client certificate and the client.key is the private key that is to be used. Only a single client/client cert is supported as of the Dublin release and multiple clients are not supported.
These files will all be needed when configuring ODL’s private key, own certificate and trusted certificates.
An example of the three required files that are needed in the zip folder can be seen in the screenshots below:
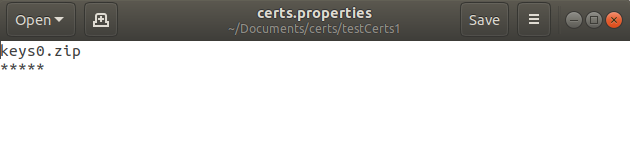
Once you have these three files created you need to create a zip file from these files. You will then have to add the name of this zip file to a file called certs.properties file. You should use the naming convention “keys<IncrementedNumber>.zip” that is used in the screenshot below and that between each zip file there is a new line with “*****” between each zip file. Since the Dublin release only supports a single client this means that there should be only one zip file present.
Below is an image of how the certs.properties files should be written:
How to Install Certs and Keys when deploying SDNC/ODL with OOM in K8s environment
- At setup time, you will need to place the zip file along with the certs.properties file in the following file path:
/docker-data/sdnc/certs/
Placing the files in this location will ensure that your files are mounted into the SDNC container at run time in the /tmp folder.
- If you are running in a Kubernetes container and would like to edit the default mount path you need to go to the following path:
oom/kubernetes/sdnc/values.yaml
If you have your zip file and the certs.properties file set up correctly at setup-time, these RPC’s will automatically be called from the installCerts.py file and your keys and certificates will be added to the ODL keystore for you.
The last step that is needed once you have your zip file and certs.properties file in the correct folder you need to run the following command to deploy ONAP:
helm deploy dev local/onap -f /root/oom/kubernetes/onap/resources/environments/public-cloud.yaml -f /root/integration-override.yaml --namespace onap --verbose
Or if you do not want to deploy the full ONAP but just SDNC container run:
helm upgrade -i dev-sdnc <path to sdnc chart> --namespace onap -f <path to global override> -f <path to sdnc sub chart>
Example of this full command is:
helm upgrade -i dev-sdnc /root/.helm/plugins/deploy/cache/onap-subcharts/sdnc --namespace onap -f /root/.helm/plugins/deploy/cache/onap/global-overrides.yaml -f /root/.helm/plugins/deploy/cache/onap-subcharts/sdnc/subchart-overrides.yaml
How to Install Certs and Keys when deploying SDNC/ODL with docker-compose
If you want to do a local installation of SDNC/ODL with docker-compose you need to first download the OAM repo from the gerrit repo with the following URL.
git clone https://gerrit.onap.org/r/sdnc/oam
Once you have this downloaded you need to go the following location.
/oam/installation/src/main/yaml
Once you are there you need to edit the docker-compose.yaml file to map the zip file and certs.properties file into the container.
You need to add in the following lines into the yaml file just below container_name: sdnc_controller_container in the file:
volumes:
  - <Your_Workspace>/certs.properties:/opt/opendaylight/certs/certs.properties
  - <Your_Workspace>/keys0.zip:/opt/opendaylight/certs/keys0.zip
Once you have the mount path for your files added into the yaml file you can run the following command:
docker-compose up -d
Clustering:
For running a Kubernetes cluster using a pre-built SDNC image the keys and certificates only need to be placed on a single mount point and not put on each image individually as the keys and certificates will be replicated across all instances in the cluster.
To get your Kubernetes running in a cluster, you need to SSH into your Rancher machine that your pods are running on and go to the directory:
/root/oom/kubernetes/sdnc/
In this directory you will find the values.yaml file which is the one you will need to edit. You need to find the variable replicaCount which is the default number of instances and change that value to 3 for clustering and also look for config: enableClustering and ensure that it is set to true.
Once this is edited you will need to stop the SDNC container with the command:
helm delete --purge dev-sdnc

make all

helm upgrade -i dev-sdnc /root/oom/kubernetes/sdnc --namespace onap -f /root/.helm/plugins/deploy/cache/onap/global-overrides.yaml -f /root/.helm/plugins/deploy/cache/onap-subcharts/sdnc/subchart-overrides.yaml
EXAMPLE: Mounting pnf-simulator
If you want to mount a pnf-simulator onto the SDNC container the you must have the pnf-simulator container up and running and the SDNC container running with the keys and certificates in the ODL keystore.
- To mount your pnf-simulator you must send the following RPC:
PUT /restconf/config/network-topology:network-topology/topology/topology-netconf/node/pnf-simulator
You must also send this as the body of the request:
<node xmlns="urn:TBD:params:xml:ns:yang:network-topology">
    <node-id>pnf-simulator</node-id>
    <key-based xmlns="urn:opendaylight:netconf-node-topology">
        <key-id xmlns="urn:opendaylight:netconf-node-topology">ODL_private_key_0</key-id>
         <username xmlns="urn:opendaylight:netconf-node-topology">netconf</username>
     </key-based>
     <host xmlns="urn:opendaylight:netconf-node-topology">IP-ADDRESS</ip-address></host>
     <port xmlns="urn:opendaylight:netconf-node-topology">6513</port>
     <tcp-only xmlns="urn:opendaylight:netconf-node-topology">false</tcp-only>
         <protocol xmlns="urn:opendaylight:netconf-node-topology">
         <name xmlns="urn:opendaylight:netconf-node-topology">TLS</name>
     </protocol>
     <max-connection-attempts xmlns="urn:opendaylight:netconf-node-topology">2</max-connection-attempts>
 </node>
where IP-ADDRESS is the ip-address you are trying to mount the pnf-simulator on.
New secure communication functionality
In order to ensure secure communication on southband interface a new functionality have been introduced. The Certificate Management Protocol ver. 2 (CMPv2) is handled by the AAF microservice CertService.
SDNC is capable of obtaining certificates signed by an external Certificate Authority to secure external ONAP communication.
Confirmation of this functionality can be performed in OOM using the Contrib projects EJBCA service.
Firstly, CertService will need to be deployed. This will require the global flag global.cmpv2Enabled to be set to true in kubernetes/onap/resources/overrides/aaf-cert-service-environment.yaml
There is also an additional module that will need to be deployed named platform. This is required for secret creation.
To deploy the EJBCA server the global flag global.addTestingComponents in kubernetes/onap/values.yaml will need to be set to true. This flag will load the test configuration from kubernetes/aaf/charts/aaf-cert-service/resources/test/cmpServers.json
cmpServers.json:
{
  "cmpv2Servers": [
    {
      "caName": "Client",
      "url": "http://aafcert-ejbca:8080/ejbca/publicweb/cmp/cmp",
      "issuerDN": "CN=ManagementCA",
      "caMode": "CLIENT",
      "authentication": {
        "iak": "mypassword",
        "rv": "mypassword"
      }
    },
    {
      "caName": "RA",
      "url": "http://aafcert-ejbca:8080/ejbca/publicweb/cmp/cmpRA",
      "issuerDN": "CN=ManagementCA",
      "caMode": "RA",
      "authentication": {
        "iak": "mypassword",
        "rv": "mypassword"
      }
    }
  ]
}
SDNC invokes the CertService in a new initContainer called certs-init.
There are a number of variables used that can be configured and these are available in kubernetes/onap/values.yaml under aaf/certServiceClient
CertService configuration:
aaf:
   certServiceClient:
     image: onap/org.onap.aaf.certservice.aaf-certservice-client:1.0.0
     secret:
       name: aaf-cert-service-client-tls-secret
       mountPath: /etc/onap/aaf/certservice/certs/
     envVariables:
       # Certificate related
       cmpv2Organization: "Linux-Foundation"
       cmpv2OrganizationalUnit: "ONAP"
       cmpv2Location: "San-Francisco"
       cmpv2State: "California"
       cmpv2Country: "US"
       # Client configuration related
       caName: "RA"
       requestURL: "https://aaf-cert-service:8443/v1/certificate/"
       requestTimeout: "20000"
       keystorePath: "/etc/onap/aaf/certservice/certs/certServiceClient-keystore.jks"
       keystorePassword: "secret"
       truststorePath: "/etc/onap/aaf/certservice/certs/truststore.jks"
       truststorePassword: "secret"
For more information:
https://onap-doc.readthedocs.io/en/latest/submodules/aaf/certservice.git/docs/index.html |
APPENDIX:
ODL Commands
There are three RPC’s needed to configure the keys and certificates for TLS and these are:
“add-keystore-entry”
“add-private-keys”
“add-trusted-certificate”
These three commands will be implemented by scripts in the SDNC container so these will all be implemented automatically.
add-keystore-entry
This is used to add the client private key from the xNF and a key-id to ODL’s TLS keystore. This is triggered with a POST command on ODL’s keystore operations.
The “private-key” data is taken form the client.key file.
add-private-keys
This is used to associate the private key with the client certificate and CA from the xNF and add it to the ODL keystore.
add-trusted-certificate
This is used to add the list of CA’s and server certificates from the xnf as trusted certificates. The trustedCertificates.crt file is needed for this action as it contains the list of CA’s.
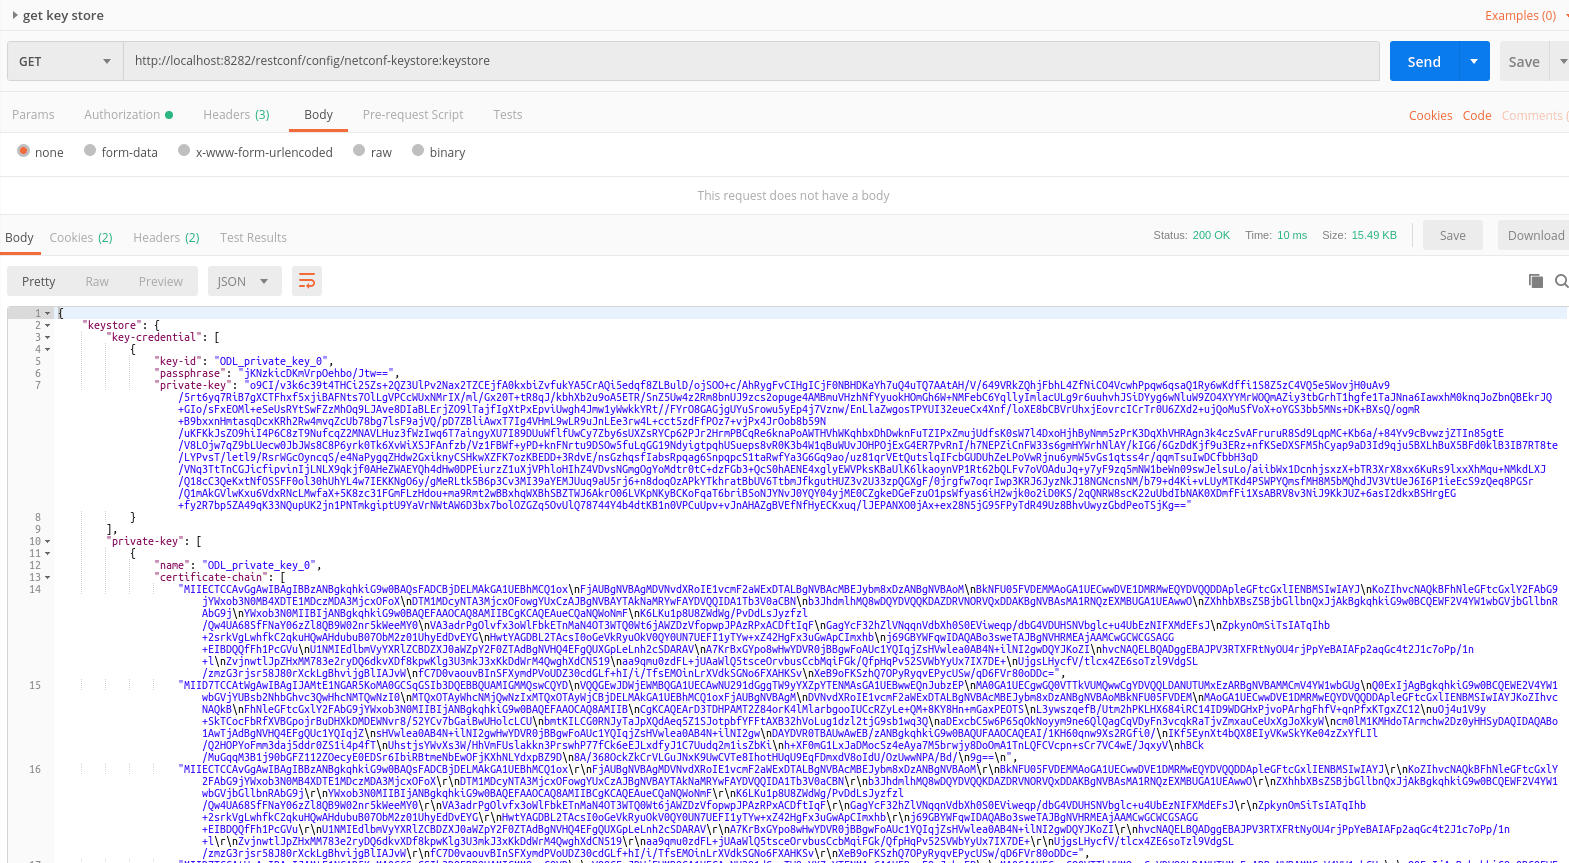
Checking Correct Certs Installation
- If you would like to run a check to make sure that your keys and certificates were installed correctly in ODL you can run the following command in Postman REST client:
GET http://localhost:8282/restconf/config/netconf-keystore:keystore
The authorization that is needed to gain access to ODL’s restconf interface is the default SDNC username and password.
You should get a response back which looks like the screenshot below:
ODL APIs:
The ODL features that are installed by the SDNC script are:
odl-restconf-all
odl-mdsal-all
odl-netconf-topology
- When we are using a clustered topology some of these features are replaced by other features.
odl-netconf-clustered-topology replaces odl-netconf-topology as these two features cannot be installed together as it will break ODL.
odl-mdsal-clustering also gets installed.