TOSCA Policy GUI
Contents
1 - How to run the Front-End Gui
This section describes how to run the front end on your local machine.
Prerequisite:
Building and running CLAMP
Step 1: Go to the clamp directory
cd /clamp/extra/bin-for-dev
Step 2: Inside the clamp directory run
./start-db.sh test
Step 3: Check docker container id
docker ps
Step 4: Log into docker container
docker exec -it 'container_id' bash
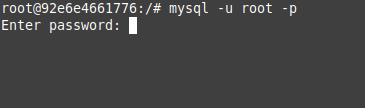
Step 5: Go into mariadb shell
mysql -u root -p
Step 6: Enter password
strong_pitchou
Step 7: Go into cldsdb4 database
use cldsdb4;
Step 8: Verify if there is data in the following table ‘loop_templates’
select * from loop_templates;
** If for some reason the database is empty do the go to the ‘/docker-entrypoint-initdb.d/dump’ directory
./load-fake-data.sh
Step 9: Once the database is up and running need to start the clamp emulator, by running the following command inside the /clamp/extra/bin-for-dev
./start-emulator.sh
Step 10: Verify if mariadb and the emulator is running
docker ps

Step 11: Start the backend service by running the command inside the /clamp/extra/bin-for-dev
./start-backend.sh
2 - Checking out and building the UI
Step 1: Checkout the UI from the repo
git clone "https://gerrit.nordix.org/onap/policy/gui"
Step 2: Change into the “gui” directory and run the following
mvn clean install
Step 3: Go into the gui-clamp/ui-react directory and run the following
npm install
Step 4: Start the front end UI
npm start --scripts-prepend-node-path
If you get the following error

gedit package.json
Then change "version": "${project.version}", to "version": "2.1.1",
Save and close, then delete the node_modules directory
rm -rf node_modules/
Then run again
npm install
npm start --scripts-prepend-node-path
Step 5: Once the UI starts at localhost:3000 it will ask for credentials:
Login: admin Password: password
3 - How to Commission/Decommission the TOSCA Service Template
This section describes how to commission and decommission the Tosca Service Template
** Prerequisite:
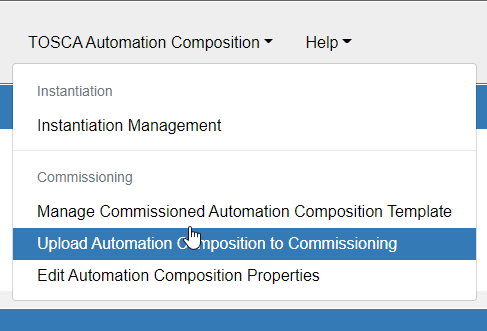
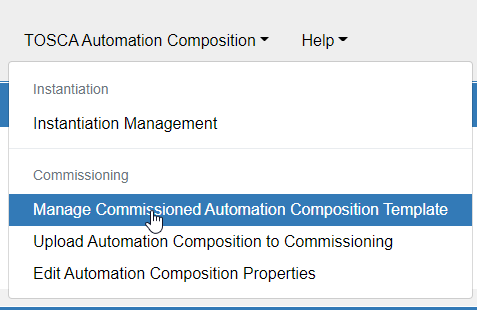
Step 1: From the Main Menu Click on TOSCA Automation Composition Dropdown
Step 2: From the Dropdown Menu Select Upload Automation Composition To Commissioning
Step 3: On the window Upload Tosca to Commissioning API Click on the input box that says ‘Please Select a file’
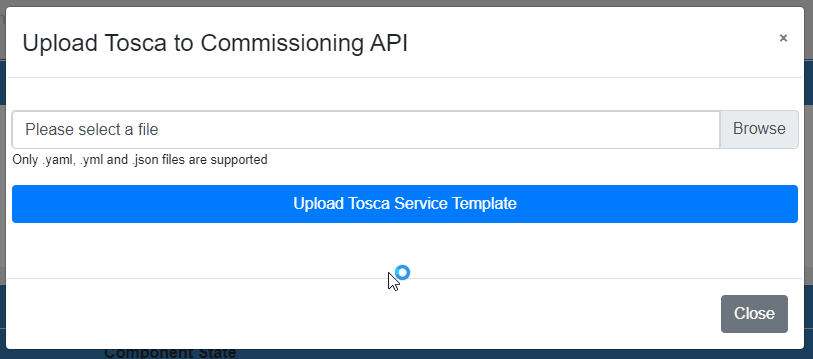
Step 4: Once the yaml file is selected click on Upload Tosca Service Template
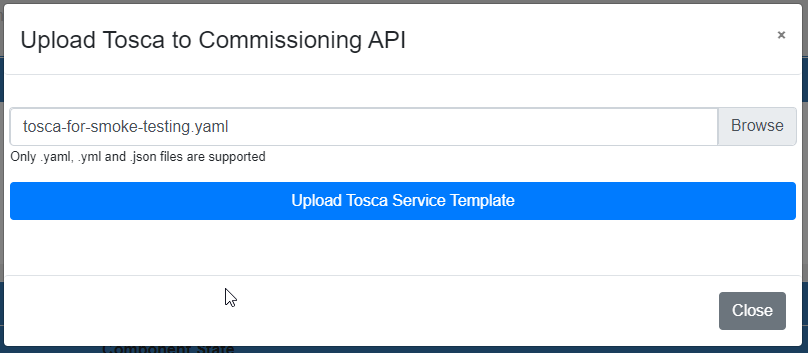
Step 5: After the upload there should have a message “Upload Success” in green

Step 6: To validate that the TOSCA Service Template has been commissioned click on Manage Commissioned Automation Composition Template
Step 7: In the View Tosca Template Window click on Pull Tosca Service Template
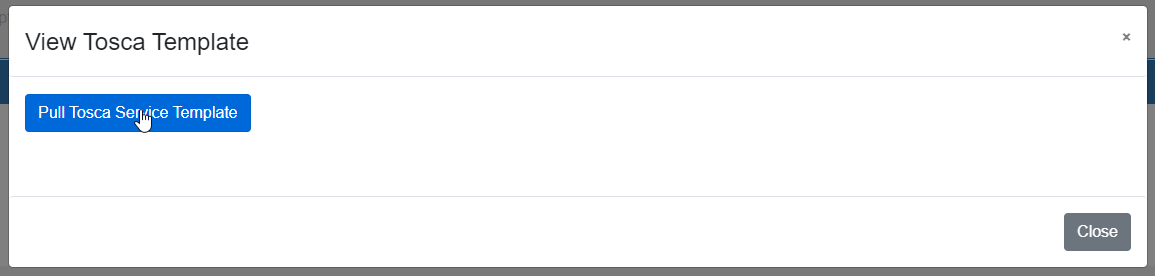
Step 8: Once the Tosca Service Template has been pulled there should be a json object rendered in the window

Step 9: Click on Close close the window
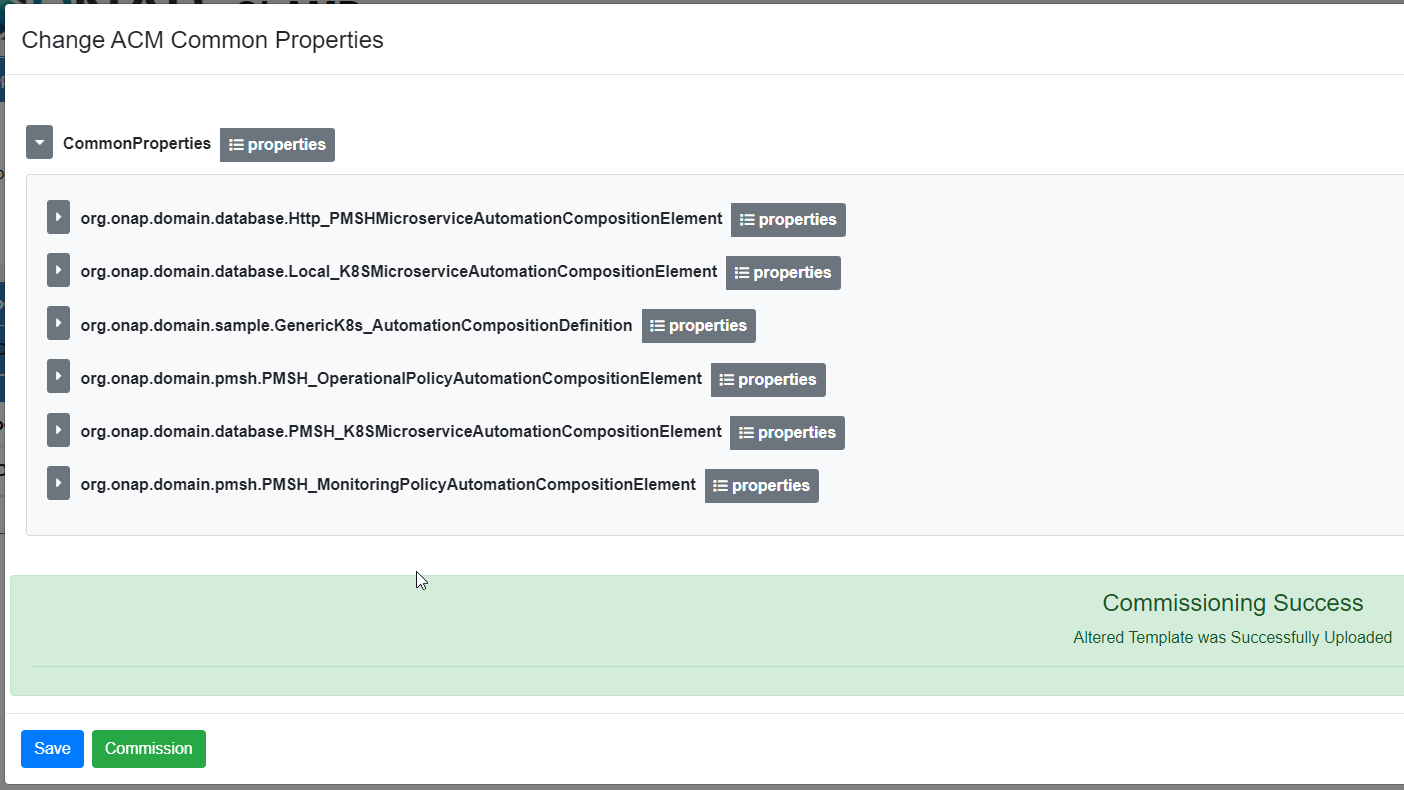
Step 10: Click on Edit Automation Composition Properties

Step 11: In the Change ACM Common Properties change the appropriate properties and click on save and there should have a popup saying ‘Changes Saved. Commission When Ready…’

Step 12: After saving the changes click on Commission and should have a Green message saying ‘Commissioning Success’
Step 13: To Decommission the Tosca Service Follow Step 6 and 8
Step 14: Once the json objected is rendered in the window click on delete
Step 14: Once the json objected is rendered in the window click on delete
Step 15: If the delete is successful it should show a message “Delete Successful”

4 - How to Save Instance Properties and Change The Order State
This section describes how to save the instance properties and change it’s order state
** Prerequisite:
Step 1: Go to the participant http directory
cd /clamp/participant/participant-impl/participant-impl-http
Step 2: Run he following command
mvn spring-boot:run -Dspring-boot.run.arguments=--server.port=8080
Step 3: Go to the participant kubernetes directory
cd /clamp/participant/participant-impl/participant-impl-kubernetes
Step 4: Run he following command
mvn spring-boot:run -Dspring-boot.run.arguments=--server.port=8081
Step 5: Go to the participant policy directory
cd /clamp/participant/participant-impl/participant-impl-policy
Step 6: Run he following command
mvn spring-boot:run -Dspring-boot.run.arguments=--server.port=8082
Step 7: From the Main Menu Click on Instantiation Management
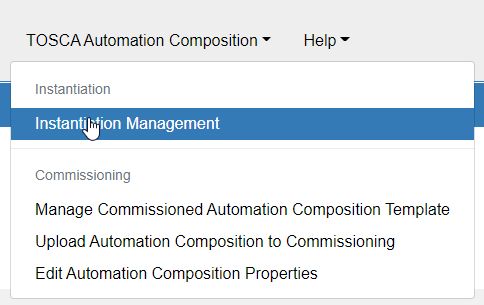
Step 8: Once the window for Manage Instance is open click on Create Instance

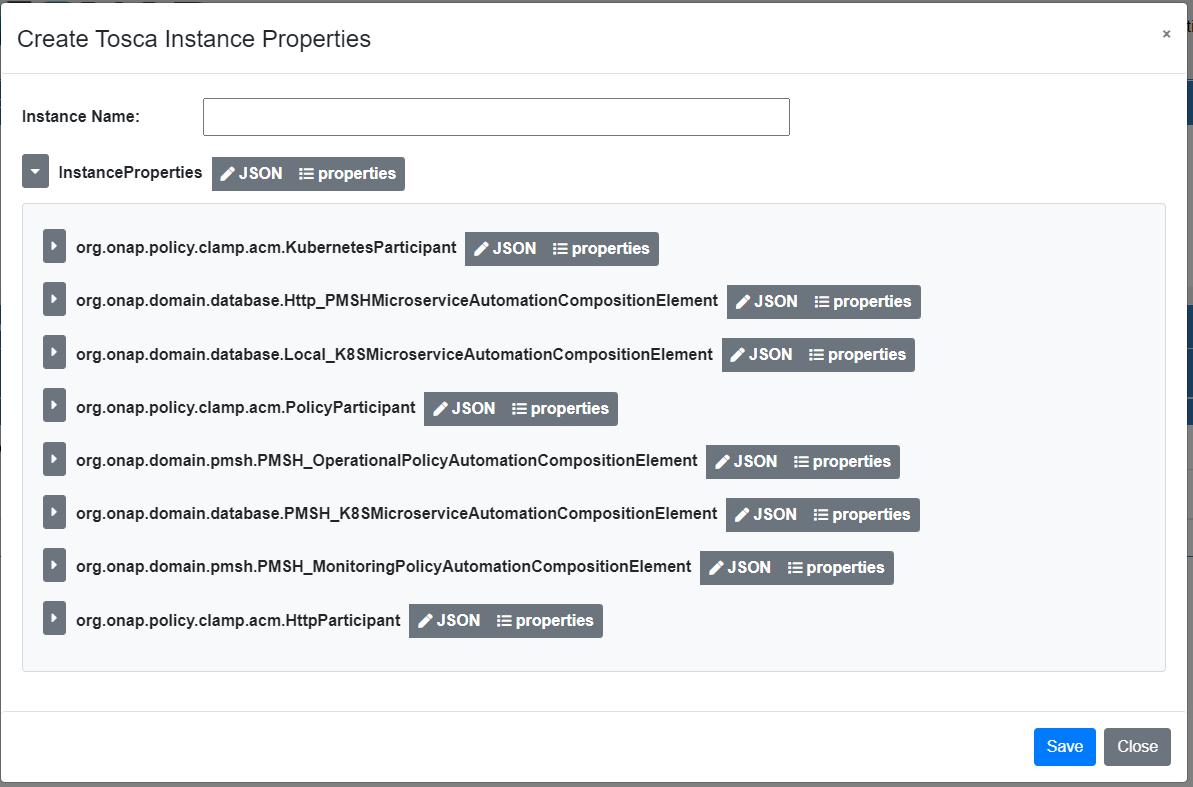
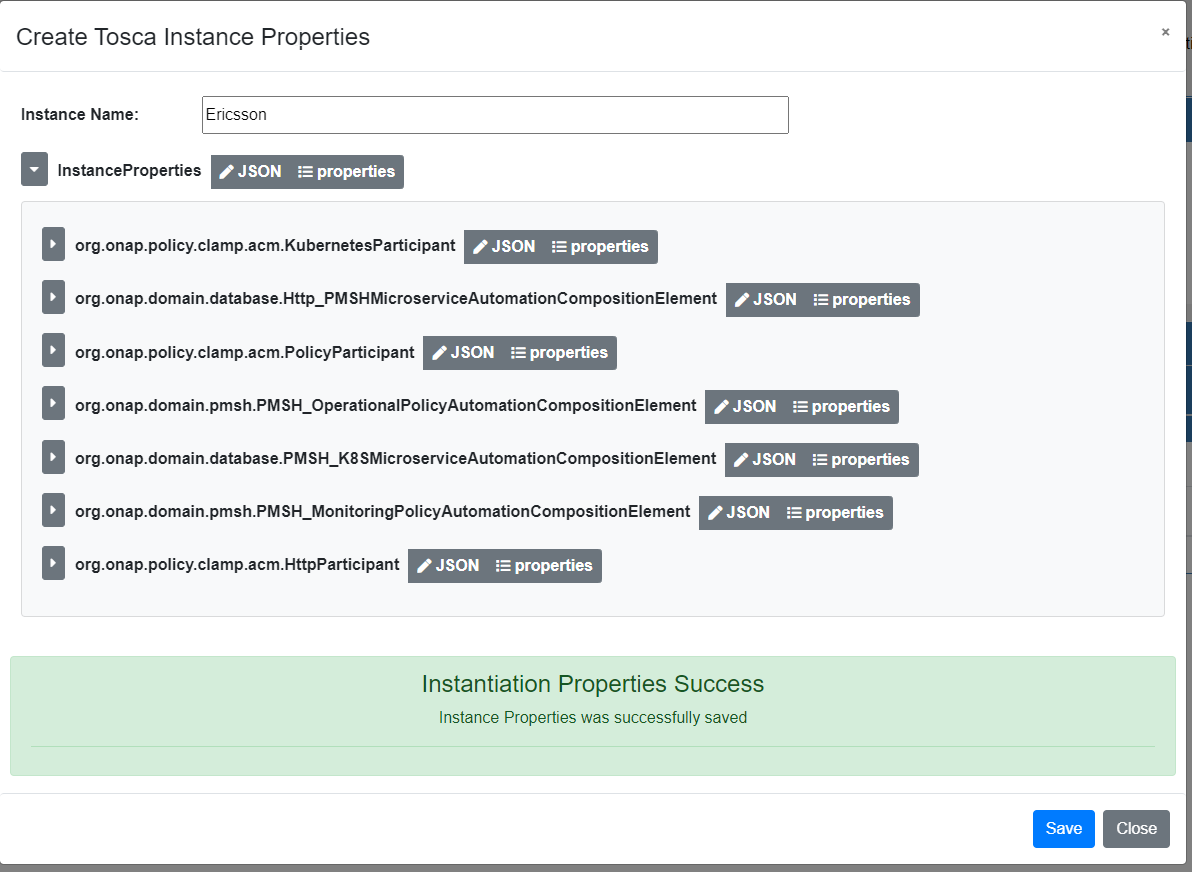
Step 9: With the Window Create Instance Properties Insert a Name and change the appropriate properties and click save
Step 10: After clicking save it should come with a green message saying “Instantiation Properties Success”
Step 11: To delete an instance repeat Step 7
Step 12: Once the window for Manage Instance is open click on Delete
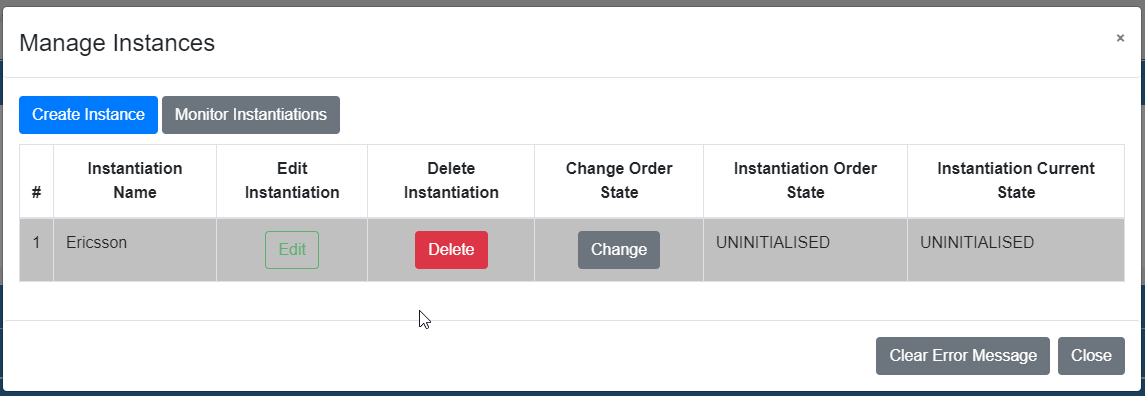
NOTE: The only way to delete the instance properties if the order state has to be UNINITIALISED
Step 13: To change the state click on Change in Manage Instances Window
Step 14: After clicking Change there should have a drop down with specific different ordered states

Step 15: From UNINITIALISED the user can only select Passive Ordered State

Step 16: Click on Save and a Message in Green “Ordered State Change Success”

NOTE: Can’t change from Passive to Running in a local developer machine, can only change in the production environment
End of document