Offline Installer - Installation Guide
This document describes offline installation procedure for OOM ONAP, which is done by the ansible based Offline installer.
Before you begin the installation process you should prepare the offline installation packages. Please refer to the Build Guide for instructions on how to create them.
Part 1. Prerequisites
ONAP platform has certain software requirements - see Software requirements and minimum hardware recommendations: 224 GB RAM, 112 vCPUs and 160GB of storage (see Hardware requirements). The minimum count of nodes should not drop below three - otherwise you may have to do some tweaking to make it work, which is not covered here (there is a pod count limit for a single kubernetes node - you can read more about it in this discussion).
Kubernetes cluster
The four nodes/VMs will be running these services:
infra-node:
- nexus
- nginx proxy
- dns
- kubernetes-etcd
- kubernetes-control-plane
- chartmuseum (if using helm v3)
NOTE: kubernetes-* control plane can be colocated directly with k8s nodes and not necessarily on infra node.
kubernetes node 1-3:
- kubernetes worker
You don’t need to care about these services now - that is the responsibility of the installer (described below). Just start four VMs as seen in below table (or according to your needs as we hinted above):
Kubernetes cluster overview
Note
Offline installer leverages RKE to provision kubernetes cluster. If you’d like to use different k8s installation method please exclude rke.yml ansible playbook from execution and provide your own.
KUBERNETES NODE |
OS |
NETWORK |
CPU |
RAM |
STORAGE |
|---|---|---|---|---|---|
infra-node |
RHEL/CentOS 7.9 |
|
|
|
|
kube-node1 |
RHEL/CentOS 7.9 |
|
|
|
|
kube-node2 |
RHEL/CentOS 7.9 |
|
|
|
|
kube-node3 |
RHEL/CentOS 7.9 |
|
|
|
|
SUM |
|
|
|
||
As of now, the offline installer supports only RHEL 7.x and CentOS 7.9 distributions, with at least @core and @base package groups installed including Mandatory and Default package sets. So, your VMs should be preinstalled with this operating system - the hypervisor and platform can be of your choosing.
We will expect from now on that you installed four VMs and they are connected to the shared network. All VMs must be reachable from install-server (below), which can be the hypervisor, infra-node or completely different host. But in either of these cases the install-server must be able to connect over ssh to all of these nodes.
Install-server
We will use distinct install-server and keep it separate from the four-node cluster. But if you wish so, you can use infra-node for this goal (if you use the default 'chroot' option of the installer), but in that case double the size of the storage requirement!
Prerequisites for the install-server:
packages described in Build Guide
extra
100 GBstorage (to have space where to store these packages)installed
'chroot'and/or'docker'system commandsnetwork connection to the nodes - especially functioning ssh client
Our install-server will have ip: 10.8.8.4.
NOTE: All the subsequent commands below, are executed from within this install-server.
Part 2. Configuration
All commands and setups described in this chapter MUST be run on the install-server. It’s assumed here that all commands are run as root which is of course not necessary - you can use a regular user account. The ssh/ansible connection to the nodes will also expect that we are connecting as root - you need to elevate privileges to be able to install on them. Although it can be achieved by other means (sudo), we decided here to keep instructions simple.
Installer packages
At this point you should have the installer packages already prepared (see Build Guide):
sw_package.tar
resources_package.tar
aux_package.tar
NOTE: 'aux_package.tar' is optional and if you don’t have use for it, you can ignore it.
Copy above packages to the /data directory on the install-server and then unpack the 'sw_package.tar' to your home directory:
$ mkdir ~/onap-offline-installer
$ tar -C ~/onap-offline-installer -xf /data/sw_package.tar
Application directory
Change the current directory to 'ansible':
$ cd ~/onap-offline-installer/ansible
You can see multiple files and directories inside - those are the offline-installer ansible playbooks.
If you created the 'sw_package.tar' package according to the Build Guide then at least the following files should be present:
application/application_configuration.ymlinventory/hosts.yml
Following paragraphs describe fine-tuning of 'inventory.yml' to reflect your VMs setup and 'application_configuration.yml' to setup the provisioner itself.
hosts.yml
We need to setup the 'hosts.yml' first, the template looks like this:
---
# This group contains hosts with all resources (binaries, packages, etc.)
# in tarball.
all:
  vars:
    # this key is supposed to be generated during setup.yml playbook execution
    # change it just when you have better one working for all nodes
    ansible_ssh_private_key_file: /root/.ssh/offline_ssh_key
    ansible_ssh_common_args: '-o StrictHostKeyChecking=no'

  children:
    resources:
      hosts:
        resource-host:
          ansible_host: 10.8.8.5

    # This is group of hosts where nexus, nginx, dns and all other required
    # services are running.
    infrastructure:
      hosts:
        infrastructure-server:
          ansible_host: 10.8.8.13
          #IP used for communication between infra and kubernetes nodes, must be specified.
          cluster_ip: 10.8.8.13

    # This is group of hosts which are/will be part of Kubernetes cluster.
    kubernetes:
      children:
        # This is a group of hosts containing kubernetes worker nodes.
        kubernetes-node:
          hosts:
            kubernetes-node-1:
              ansible_host: 10.8.8.19
              #ip of the node that it uses for communication with k8s cluster.
              cluster_ip: 10.8.8.19
              # External ip of the node, used for access from outside of the cluster.
              # Can be set to some kind of floating or public ip.
              # If not set, cluster_ip is used for this purpose.
              # external_ip: x.x.x.x

        # Group of hosts containing etcd cluster nodes.
        # Defaults to infra.
        kubernetes-etcd:
          hosts:
            infrastructure-server

        # This is a group of hosts that are to be used as kubernetes control plane nodes.
        # This means they host kubernetes api server, controller manager and scheduler.
        # This example uses infra for this purpose, however note that any
        # other host could be used including kubernetes nodes.
        # cluster_ip needs to be set for hosts used as control planes, external_ip can also be used.
        kubernetes-control-plane:
          hosts:
            infrastructure-server

    nfs-server:
      hosts:
        kubernetes-node-1
There is some ssh configuration under the 'vars' section - we will deal with ssh setup a little bit later in the SSH authentication.
First you need to set the ip addresses and add a couple of kubernetes nodes to match your four-node cluster:
Under the
'resource-host'set the'ansible_host'address to the ip of the host where the packages are stored - it must be reachable by ssh from the install-server (for ansible to run playbooks on it) AND infra-node (to extract resource data from resource-host to infra-node over ssh). In our scenario the resource-host is the same as the install-server:'10.8.8.4'Similarly, set the
'ansible_host'to the address of the infra-node under the'infrastructure-server'.Copy the whole
'kubernetes-node-1'subsection and paste it twice directly after. Change the numbers to'kubernetes-node-2'and'kubernetes-node-3'respectively and fix the addresses in the'ansible_host'variables again to match kube-node1, kube-node2 and kube-node3.
As you can see, there is another 'cluster_ip' variable for each node - this serve as a designated node address in the kubernetes cluster. Make it the same as the respective 'ansible_host'.
NOTE: In our simple setup we have only one interface per node, but that does not need to be a case for some other deployments - especially if we start to deal with a production usage. Basically, an 'ansible_host' is an entry point for the install-server’s ansible (offline-installer), but the kubernetes cluster can be communicating on a separate network to which install-server has no access. That is why we have this distinctive variable, so we can tell the installer that there is a different network, where we want to run the kubernetes traffic and what address each node has on such a network.
After applying all described changes, the 'hosts.yml' should look similar to this:
---
# This group contains hosts with all resources (binaries, packages, etc.)
# in tarball.
all:
  vars:
    # this key is supposed to be generated during setup.yml playbook execution
    # change it just when you have better one working for all nodes
    ansible_ssh_private_key_file: /root/.ssh/offline_ssh_key
    ansible_ssh_common_args: '-o StrictHostKeyChecking=no'

  children:
    resources:
      hosts:
        resource-host:
          ansible_host: 10.8.8.4

    # This is group of hosts where nexus, nginx, dns and all other required
    # services are running.
    infrastructure:
      hosts:
        infrastructure-server:
          ansible_host: 10.8.8.100
          #IP used for communication between infra and kubernetes nodes, must be specified.
          cluster_ip: 10.8.8.100

    # This is group of hosts which are/will be part of Kubernetes cluster.
    kubernetes:
      children:
        # This is a group of hosts containing kubernetes worker nodes.
        kubernetes-node:
          hosts:
            kubernetes-node-1:
              ansible_host: 10.8.8.101
              #ip of the node that it uses for communication with k8s cluster.
              cluster_ip: 10.8.8.101
              # External ip of the node, used for access from outside of the cluster.
              # Can be set to some kind of floating or public ip.
              # If not set, cluster_ip is used for this purpose.
              # external_ip: x.x.x.x
            kubernetes-node-2:
              ansible_host: 10.8.8.102
              #ip of the node that it uses for communication with k8s cluster.
              cluster_ip: 10.8.8.102
            kubernetes-node-3:
              ansible_host: 10.8.8.103
              #ip of the node that it uses for communication with k8s cluster.
              cluster_ip: 10.8.8.103

        # Group of hosts containing etcd cluster nodes.
        # Defaults to infra.
        kubernetes-etcd:
          hosts:
            infrastructure-server

        # This is a group of hosts that are to be used as kubernetes control plane nodes.
        # This means they host kubernetes api server, controller manager and scheduler.
        # This example uses infra for this purpose, however note that any
        # other host could be used including kubernetes nodes.
        # cluster_ip needs to be set for hosts used as control planes, external_ip can also be used.
        kubernetes-control-plane:
          hosts:
            infrastructure-server

    nfs-server:
      hosts:
        kubernetes-node-1
application_configuration.yml
Here, we will be interested in the following variables:
resources_dirresources_filenameaux_resources_filenameapp_data_pathaux_data_pathapp_nametimesync
'resource_dir', 'resources_filename' and 'aux_resources_filename' must correspond to the file paths on the resource-host ('resource-host' in hosts.yml), which in our case is the install-server host.
The 'resource_dir' should be set to '/data', 'resources_filename' to 'resources_package.tar' and 'aux_resources_filename' to 'aux_package.tar'. The values should be the same as are in the Installer packages section.
'app_data_path' is the absolute path on the infra-node to where the package 'resources_package.tar' will be extracted and similarly 'aux_data_path' is another absolute path for 'aux_package.tar'. Both paths are fully arbitrary, but they should point to the filesystem with enough disk space - the storage requirements are described in Overview table of the kubernetes cluster.
NOTE: As we mentioned in Installer packages - the auxiliary package is not mandatory and we will not utilize it in here either.
The 'app_name' variable should be short and descriptive. We will set it simply to onap.
The 'timesync' variable is optional and controls synchronisation of the system clock on hosts. It should be configured only if a custom NTP server is available and needed. Such a time authority should be on a host reachable from all installation nodes. If this setting is not provided then the default behavior is to setup NTP daemon on infra-node and sync all kube-nodes’ time with it.
If you wish to provide your own NTP servers configure their IPs as follows:
timesync:
  servers:
   - <ip address of NTP_1>
   - <...>
   - <ip address of NTP_N>
Another time adjustment related variables are 'timesync.slewclock' and 'timesync.timezone' .
First one can have value of 'true' or 'false' (default). It controls whether (in case of big time difference compared to server) time should be adjusted gradually by slowing down or speeding up the clock as required ('true') or in one step ('false'):
timesync:
  slewclock: true
Second one controls time zone setting on host. It’s value should be time zone name according to tz database names with 'Universal' being the default one:
timesync.
  timezone: UTC
'timesync.servers', 'timesync.slewclock' and 'timesync.timezone' settings can be used independently.
Final configuration can resemble the following:
resources_dir: /data
resources_filename: resources_package.tar
app_data_path: /opt/onap
app_name: onap
timesync:
  servers:
    - 192.168.0.1
    - 192.168.0.2
  slewclock: true
  timezone: UTC
Helm chart values overrides
OOM charts are coming with all ONAP components disabled, this setting is also prepackaged within our sw_package.tar. Luckily there are multiple ways supported how to override this setting. It’s also necessary for setting-up VIM specific entries and basically to configure any stuff with non default values.
First option is to use overrides key in application_configuration.yml.
These settings will override helm values originally stored in values.yaml files in helm chart directories.
For example, the following lines could be appended to application_configuration.yml to set up managed openstack credentials for onap’s so component:
overrides:
  so:
    config:
      openStackUserName: "os_user"
      openStackRegion: "region_name"
      openStackKeyStoneUrl: "keystone_url"
      openStackEncryptedPasswordHere: "encrypted_password"
In addition or alternatively to that one can configure helm_override_files variable in 'application_configuration.yml' and mention all files with helm chart values there, e.g.:
helm_override_files:
  - "/path/to/values1.yaml"
  - "/path/to/values2.yaml"
SSH authentication
Finally you need to setup password-less login from install-server to the nodes.
You can use the ansible playbook 'setup.yml' for that purpose:
$ ./run_playbook.sh -i inventory/hosts.yml setup.yml -u root --ask-pass
You will be asked for password per each node and the playbook will generate a unprotected ssh key-pair '~/.ssh/offline_ssh_key', which will be distributed to the nodes.
Another option is to generate a ssh key-pair manually. We strongly advise you to protect it with a passphrase, but for simplicity we will showcase generating of a private key without any such protection:
$ ssh-keygen -N "" -f ~/.ssh/identity
The next step will be to distribute the public key to these nodes and from that point no password is needed:
$ for ip in 100 101 102 103 ; do ssh-copy-id -i ~/.ssh/identity.pub root@10.8.8.${ip} ; done
This command behaves almost identically to the 'setup.yml' playbook.
If you generated the ssh key manually then you can now run the 'setup.yml' playbook like this and achieve the same result as in the first execution:
$ ./run_playbook.sh -i inventory/hosts.yml setup.yml
This time it should not ask you for any password - of course this is very redundant, because you just distributed two ssh keys for no good reason.
We can finally edit and finish the configuration of the 'hosts.yml':
if you used the
'setup.yml'playbook then you can just leave this line as it is:ansible_ssh_private_key_file: /root/.ssh/offline_ssh_key
if you created a ssh key manually then change it like this:
ansible_ssh_private_key_file: /root/.ssh/identity
Part 3. Installation
We should have the configuration complete and be ready to start the installation. The installation is done via ansible playbooks, which are run either inside a chroot environment (default) or from the docker container. If for some reason you want to run playbooks from the docker instead of chroot then you cannot use infra-node or any other kube-node as the install-server - otherwise you risk that installation will fail due to restarting of the docker service.
'sw_package.tar' should contain 'ansible_chroot.tgz' file inside the 'docker' directory. Detailed instructions on how to create it manually and to get more info about the scripts dealing with docker and chroot, go to Appendix 1. Ansible execution/bootstrap.
We will use the default chroot option so we don’t need any docker service to be running.
Commence the installation process by running following command:
$ ./run_playbook.sh -i inventory/hosts.yml -e @application/application_configuration.yml site.yml
This will take a while so be patient. The whole provisioning process is idempotent so you may safely re-run it if required.
'site.yml' playbook will run following playbooks in the given order:
resources.ymlinfrastructure.ymlrke.ymlnfs.ymlkube_prometheus.ymlcert_manager.ymlapplication.yml
Part 4. Post-installation and troubleshooting
After all of the playbooks are run successfully the ONAP kubernetes application will be still deploying and it might take some time until all pods are up and running. You can monitor your newly created kubernetes cluster with this command:
$ ssh -i ~/.ssh/offline_ssh_key root@10.8.8.100 # tailor this command to connect to your infra-node
$ watch -d -n 5 'kubectl get pods --all-namespaces'
Alternatively you can monitor progress with helm_deployment_status.py script located in offline-installer directory. Transfer it to infra-node and run:
$ python helm_deployment_status.py -n <namespace_name> # namespace defaults to onap
To automatically verify functionality with healthchecks after deployment becomes ready or after timeout period expires, append -hp switch followed by the full path to the healthcheck script and --health-mode optional switch with appropriate mode supported by that script (health by default, --help displays available modes):
$ python helm_deployment_status.py -hp <app_data_path>/<app_name>/helm_charts/robot/ete-k8s.sh --health-mode <healthcheck mode>
It is strongly recommended to tailor helm_deployment_status.py to your needs since default values might not be what you’d expect. The defaults can be displayed with --help switch.
Final result of installation varies based on number of k8s nodes used and distribution of pods. In successful deployments all jobs should be in successful state. This can be verified with:
$ kubectl get jobs -n <namespace>
If some of the job is hanging in some wrong end-state like 'BackoffLimitExceeded' manual intervention is required to heal this and make also dependent jobs passing. More details about particular job state can be obtained using
$ kubectl describe job -n <namespace> <job_name>
If manual intervention is required, one can remove failing job and retry helm install command directly, which will not launch full deployment but rather check current state of the system and rebuild parts which are not up & running. Exact commands are as follows
$ kubectl delete job -n <namespace> <job_name>
$ helm deploy <env_name> <helm_chart_name> --namespace <namespace_name>

E.g. helm deploy dev local/onap --namespace onap
Once all pods are properly deployed and in running state, one can verify functionality e.g. by running onap healthchecks
$ cd <app_data_path>/<app_name>/helm_charts/robot
$ ./ete-k8s.sh onap health
You can install screen and jq packages to aid troubleshooting. Those can be installed from resources directory.
Screen is a terminal multiplexer and allows running multiple virtual terminal sessions as well as keep active SSH connections even when terminal is closed.
Jq can be used for editing json data format as output of kubectl. For example jq was used to troubleshoot SDNC-739 (UEB - Listener in Crashloopback)
$ kubectl -n onap get job onap-sdc-sdc-be-config-backend -o json | jq "del(.spec.selector)" | jq "del(.spec.template.metadata.labels)" | kubectl -n onap replace --force -f -
Appendix 1. Ansible execution/bootstrap
There are two ways how to easily run the installer’s ansible playbooks:
If you already have or can install a docker then you can build the provided
'Dockerfile'for the ansible and run playbooks in the docker container.Another way to deploy ansible is via chroot environment which is bundled together within this directory.
(Re)build docker image and/or chroot archive
Inside the 'ansible/docker' directory you’ll find the 'Dockerfile' and 'build_ansible_image.sh' script. You can run 'build_ansible_image.sh' script on some machine with the internet connectivity and it will download all required packages needed for building the ansible docker image and for exporting it into a flat chroot environment.
Built image is exported into 'ansible_chroot.tgz' archive in the same ('ansible/docker') directory.
This script has two optional arguments:
ansible version
docker image name
Note: if optional arguments are not used, docker image name will be set to 'ansible' by default.
Launching ansible playbook using chroot environment
This is the default and preferred way of running ansible playbooks in an offline environment as there is no dependency on docker to be installed on the system. Chroot environment is already provided by included archive 'ansible_chroot.tgz'.
It should be available in the 'ansible/docker' directory as the end-result of the packaging script or after manual run of the 'build_ansible_image.sh' script referenced above.
All playbooks can be executed via './run_playbook.sh' wrapper script.
To get more info about the way how the './run_playbook.sh' wrapper script should be used, run:
$ ./run_playbook.sh
The main purpose of this wrapper script is to provide the ansible framework to a machine where it was bootstrapped without need of installing additional packages. The user can run this to display 'ansible-playbook' command help:
$ ./run_playbook.sh --help
Developers notes
There are two scripts which work in tandem for creating and running chroot
First one can convert docker image into chroot directory
Second script will automate chrooting (necessary steps for chroot to work and cleanup)
Both of them have help - just run:
$ cd ansible/docker
$ ./create_docker_chroot.sh help
$ ./run_chroot.sh help
Example usage:
$ sudo su
$ ansible/docker/create_docker_chroot.sh convert some_docker_image ./new_name_for_chroot
$ cat ./new_name_for_chroot/README.md
$ ansible/docker/run_chroot.sh execute ./new_name_for_chroot cat /etc/os-release 2>/dev/null
Launching ansible playbook using docker container (ALTERNATIVE APPROACH)
This option is here just to keep support for the older method which relies on a running docker service. For the offline deployment use the chroot option as indicated above.
You will not need 'ansible_chroot.tgz' archive anymore, but the new requirement is a prebuilt docker image of ansible (based on the provided 'Dockerfile'). It should be available in your local docker repository (otherwise the default name 'ansible' may fetch unwanted image from default registry!).
To trigger this functionality and to run 'ansible-playbook' inside a docker container instead of the chroot environment, you must first set the ANSIBLE_DOCKER_IMAGE variable. The value must be a name of the built ansible docker image.
Usage is basically the same as with the default chroot way - the only difference is the existence of the environment variable:
$ ANSIBLE_DOCKER_IMAGE=ansible ./run_playbook.sh --help
Appendix 2. Running Kubernetes Dashboard
Kubernetes Dashboard is a web-based, general purpose user interface for managing a k8s cluster.
Some of its capabilities are:
workloads/services management (troubleshooting, scaling, editing, restarting pods)
deploying new workloads/applications to the cluster
managing the cluster itself
Dashboard also provides information on the state of the cluster resources and on any errors that may have occurred.
Kubernetes Dashboard itself is a kubernetes application. For user convenience the Offline platform has it already pre-installed:
$ kubectl -n kubernetes-dashboard get deployment
NAME                        READY   UP-TO-DATE   AVAILABLE   AGE
dashboard-metrics-scraper   1/1     1            1           76m
kubernetes-dashboard        1/1     1            1           76m
Accessing the dashboard
There are multiple ways to access the application’s web UI. Here we’ll assume usage of local port forwarding on a box where you have access to a browser since the dashboard in Offline platform is exposed via a node port by default.
First get the node port number that the dashboard service is exposed on:
$ kubectl -n kubernetes-dashboard get svc kubernetes-dashboard -o custom-columns=PORTS:.spec.ports[].nodePort
PORTS
30825
Now establish an ssh session to the infra node from your box from which you’ll be accessing the dashboard:
$ ssh -L 8080:127.0.0.1:30825 root@<infra host ip>
Point your browser at https://localhost:8080/ and you should see the login page:
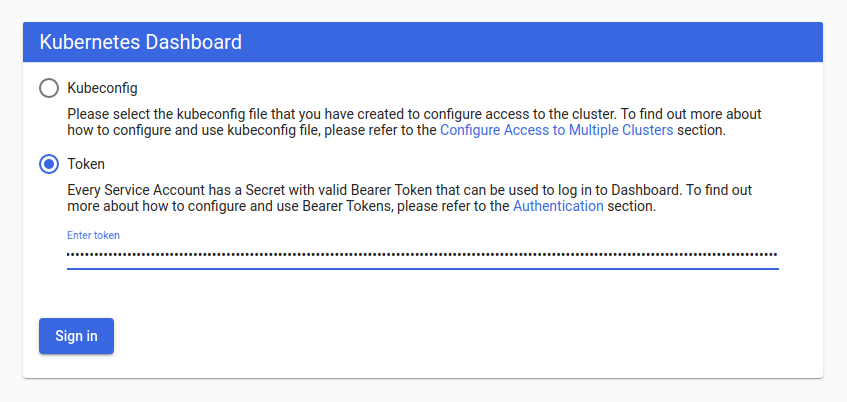
Here, we’ll leverage the Bearer Token to log in. Offline platform comes with dashboard admin user already created, we just need to extract its token. On the infra node issue following command:
$ kubectl -n kubernetes-dashboard get secret $(kubectl -n kubernetes-dashboard get sa/admin-user -o jsonpath="{.secrets[0].name}") -o go-template="{{.data.token | base64decode}}"
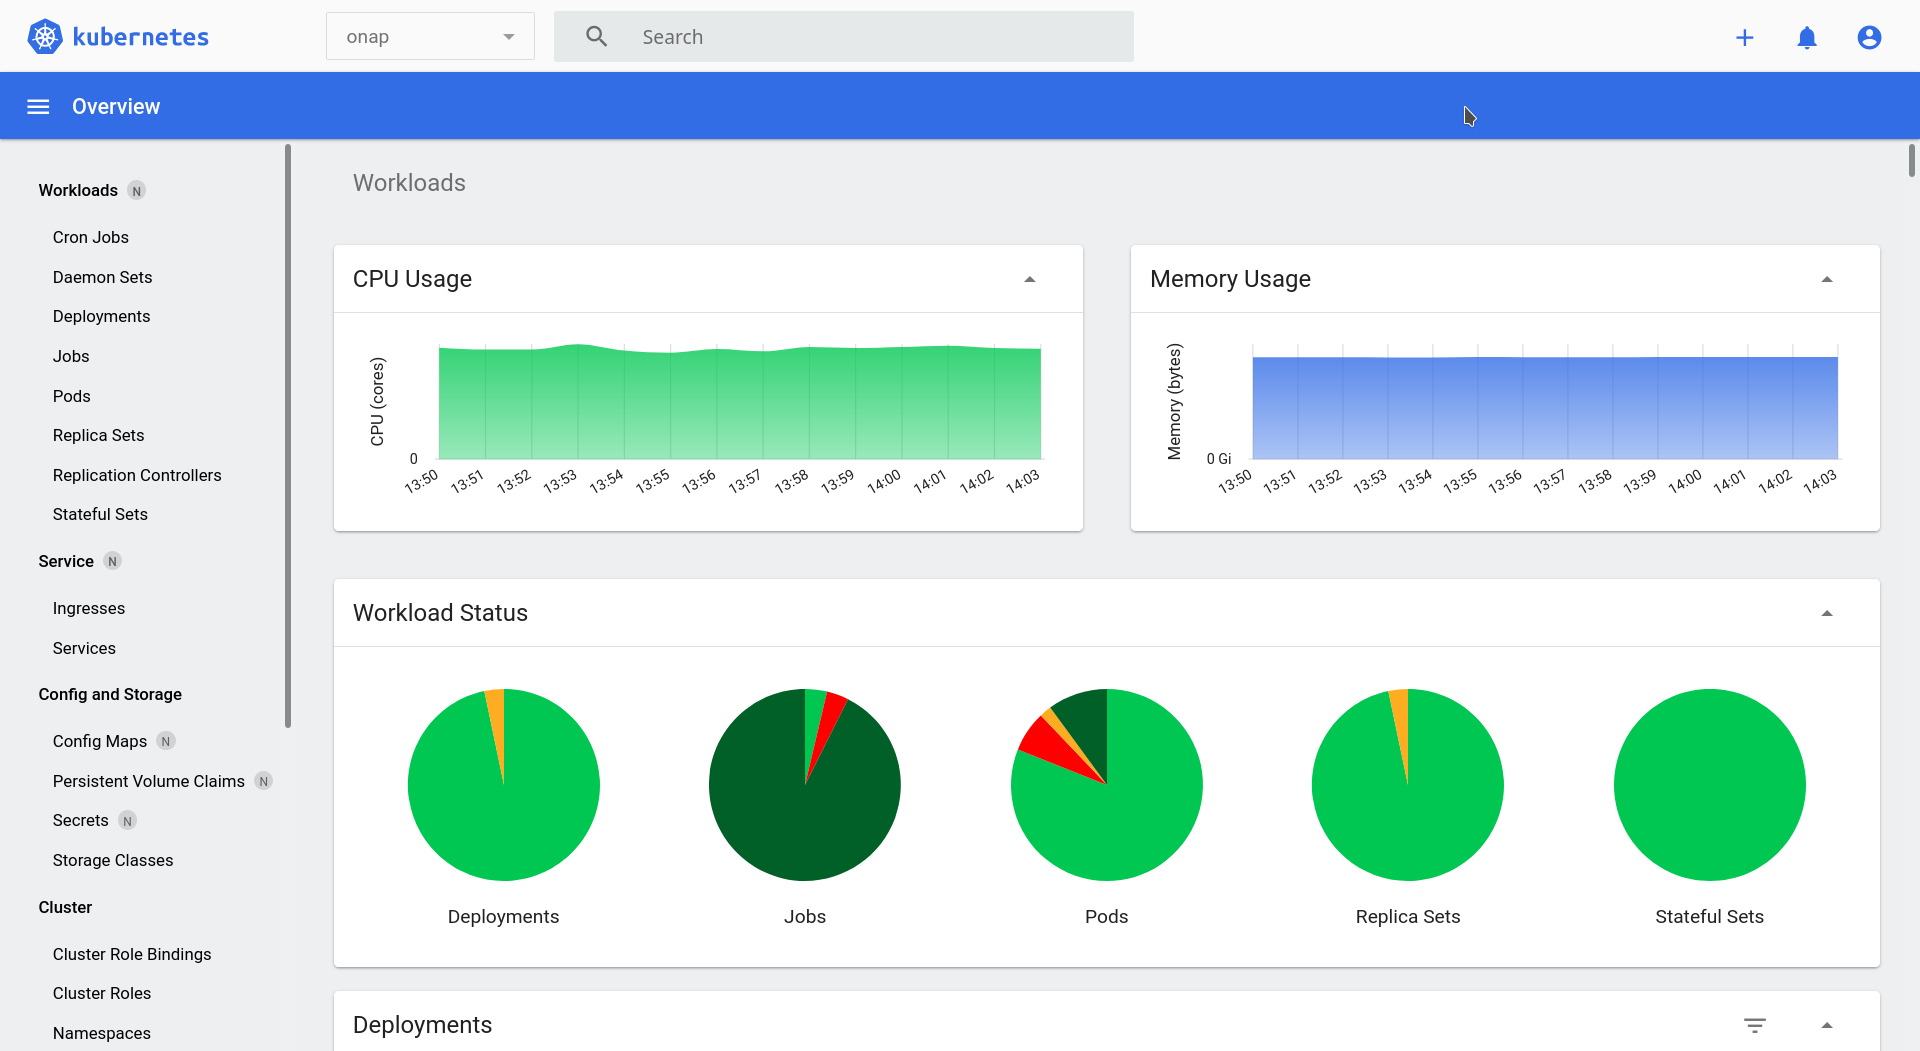
It will return the token string on stdout. Copy-paste it into the sign-in form, selecting the “Token” option first. Upon successful login you’ll be presented the cluster resources from default namespace. In the drop down box at the top select the namespace into which you installed the Onap application (namespace name equals the value of app_name variable from offline-installer setup) and you should see the cluster resources for Onap:
For additional information concerning the Kubernetes Dashboard please refer to the official documentation.
Appendix 3. Running kube-prometheus stack
Kube-prometheus stack is a collection of Kubernetes manifests, Grafana dashboards, and Prometheus rules combined with documentation and scripts to provide easy to operate end-to-end Kubernetes cluster monitoring with Prometheus using the Prometheus Operator.
The Stack is not deployed by default in Offline ONAP Platform, but all artifacts which it requires are downloaded by relevant scripts in the package build phase (see Build Guide).
Setup (optional)
Kube-prometheus stack itself is a Kubernetes native application provisioned using Helm Charts. As such it can be configured using Helm values. Offline Installer provides a handy way for passing those values to the helm installation process.
Any values for the Stack should be defined as subkeys of kube_prometheus_helm_values variable in application_configuration.yml. For instance, in order to override the default Grafana password, insert below structure into application_configuration.yml:
kube_prometheus_helm_values:
  grafana:
    adminPassword: <password>
Another example - to set custom storage size for Prometheus tsdb:
kube_prometheus_helm_values:
  prometheus:
    prometheusSpec:
      storageSpec:
        volumeClaimTemplate:
          spec:
            resources:
              requests:
                storage: 6Gi
A comprehensive list of Helm values for the Stack can be obtained on the Kube-prometheus stack project site, in the values.yaml file. Additional values for the Grafana can be checked on the Grafana project site in the charts/grafana/values.yaml file.
Installation
In order to actually install this tool it’s required to set the following variable in application_configuration.yml:
kube_prometheus_stack_enabled: true
After the Offline Platform installation process is complete, the Stack will be deployed into its own kubernetes and helm namespace kube-prometheus.
ONAP Services Monitoring
Some ONAP services export application metrics which can be scraped by Prometheus by leveraging the ServiceMonitor objects. Offline Platform provides a curated set of Grafana panels for monitoring ONAP’s mariadb-galera chart. To enable mariadb-galera monitoring provide the following helm values in application_configuration.yml:
overrides:
  mariadb-galera:
    metrics:
      serviceMonitor:
        enabled: true
        basicAuth:
          enabled: false
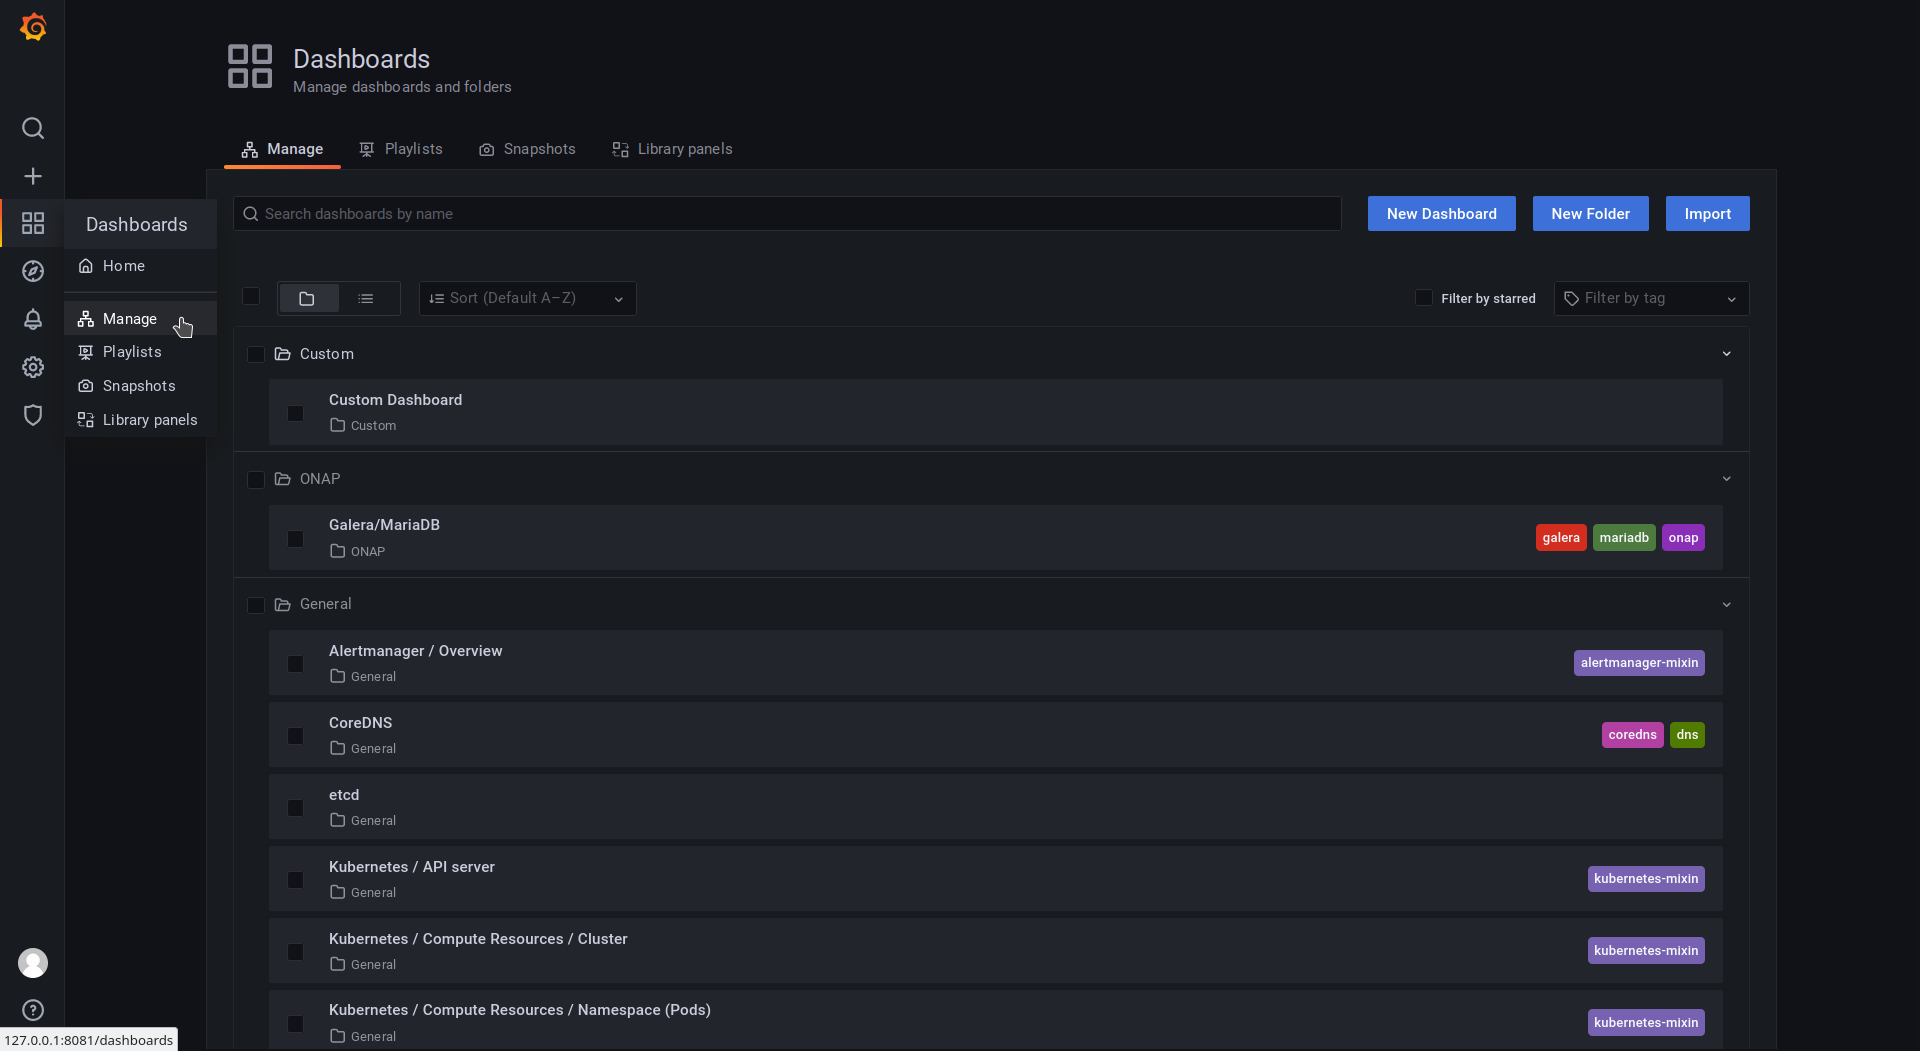
To access the Galera/MariaDB dashboard navigate to Dashboards -> Manage -> ONAP -> Galera/MariaDB in Grafana UI.
Accessing Grafana dashboard
The most straightforward way to access the Grafana UI is by leveraging the port-forward k8s facility. Issue following command on the Infra host:
kubectl -n kube-prometheus port-forward --address 0.0.0.0 svc/kube-prometheus-stack-grafana 8081:80
Then navigate to http://<infra IP>:8081 to access the UI:

Default username is admin and the default password is grafana.
In the left pane navigate to Dashboards -> Manage to see the various pre-defined dashboards that come bundled with kube-prometheus stack. There is also the Custom folder which holds few additional dashes defined by the Offline Installer authors:
Alternative way of accessing the UI is by leveraging the NodePort type service which exposes Grafana UI on the Infra host public port directly. To do so get the port number first:
kubectl -n kube-prometheus get service/kube-prometheus-stack-grafana -o custom-columns=PORTS:.spec.ports[].nodePort
Then navigate to http://<infra IP>:<nodePort> to access the UI.