Setting up environment
This chapter is based on the Git Guide and the Gerrit Guide in the Linux Foundation Releng Documentation.
Prerequisites
Before you start, you should have an LFID account (sign up here).
Installing git
Install Git.
For Debian based systems:
sudo apt-get install git -y
For rpm based systems:
sudo dnf install git -y
For MacOS systems, install homebrew and install Git
brew install git
Note
For more information on git, see the Git Guide in the Linux Foundation Releng Documentation.
Configure Git
Set the author name or email used to sign off a commit with the following commands.
git config --local user.name "Your Name"
git config --local user.email yourname@example.com
Note
Your name and e-mail address (including capitalization) must match the one you entered when creating your LFID account.
Optionally, change the Git commit editor to your preferred editor, for example, vim.
git config --global core.editor "vim"
Installing git-review
Install git-review.
pip install git-review
Note
If you don’t have pip installed already, follow the installation documentation for pip.
Setting up gerrit
Setting SSH keys
Generate SSH keys.
For OpenSSH 8.7 or older versions:
ssh-keygen -t rsa
For OpenSSH 8.8 or later versions, either use ed25519 or ECDSA algorithm to generate ssh keys:
ssh-keygen -t ed25519
or
ssh-keygen -t ECDSA
Note
OpenSSH 8.8+ disables RSA signatures using the SHA-1 hash algorithm by default, which may cause authentication problem when pull/push code. You can either specify the encrypt algorithm or re-enable the RSA/SHA1 in ~/.ssh/config file to solve the issue. For more information, please refer to OpenSSH Release Notes.
Your public key is now available as .ssh/id_rsa.pub or .ssh/id_ed25519.pub or .ssh/id_ecdsa.pub under .ssh folder.
Print the generated key to the terminal and copy it.
cat .ssh/id_rsa.pub
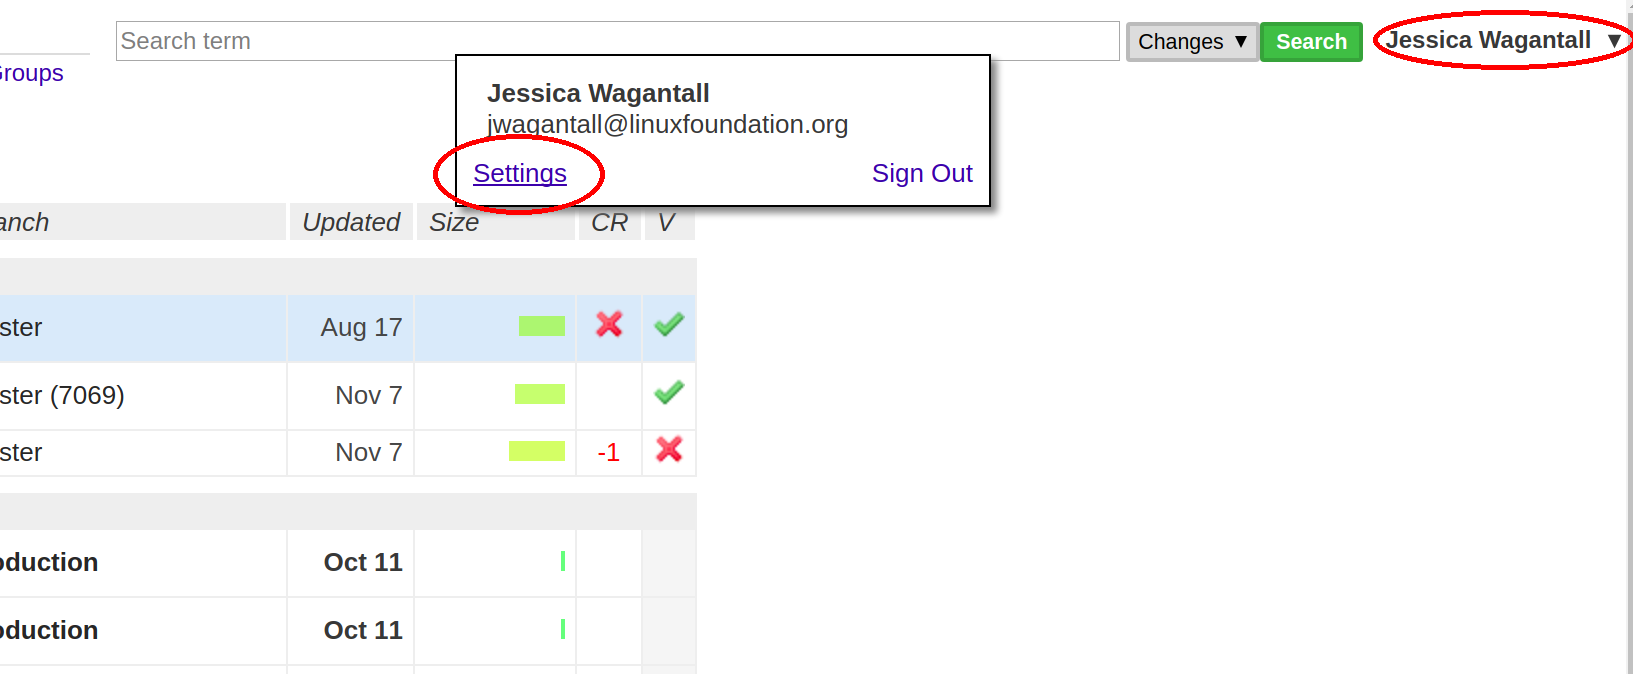
On the project gerrit page, go to Settings.
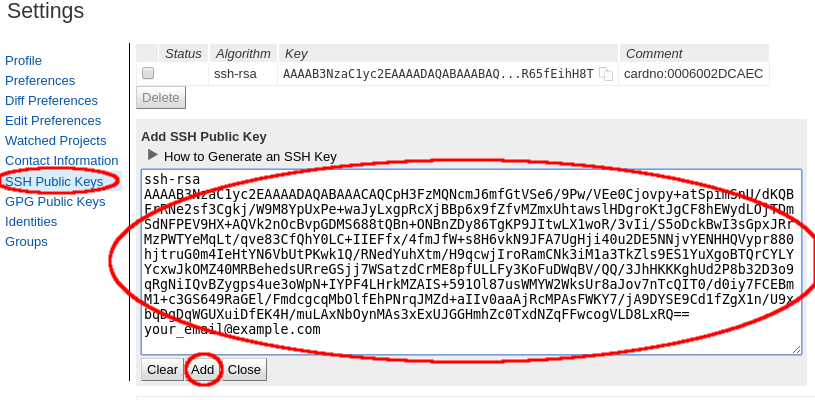
Click SSH Public Keys under Settings.
Click Add Key.
In the Add SSH Public Key text box, paste the contents of your id_rsa.pub file and then click Add.
Setting up CLA as an individual contributor
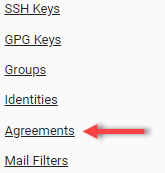
Navigate to Settings — the gear icon on the upper right corner, and click Agreements from the menu on the left:
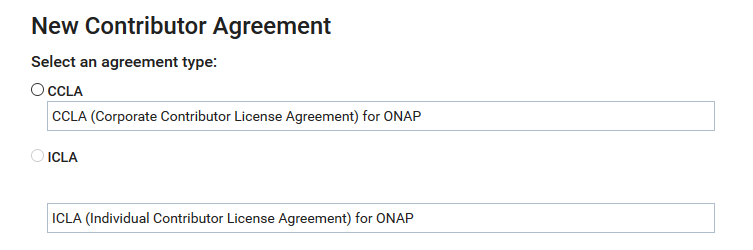
Click New Contributor Agreement.

New Contributor Agreement types appear:
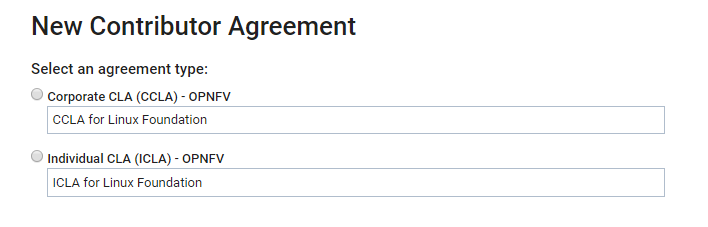
Choose the Individual CLA option.
Click the Please review the agreement link and then click the message link that appears:

Sign in to EasyCLA if you are prompted.
Select Company.
Note
To contribute to this project, you must be authorized under a signed Contributor License Agreement. You are contributing on behalf of your work for a company.
If any further prompts appear, follow the steps described at the below links:
Complete the form and click SEND.
The CCLA manager signs a Corporate CLA and adds you to the approved list.