vFW Service Design Tutorial
Browser settings
This exercise will use the ONAP Portal. To interact properly with Portal services, please make sure to set the following settings in your Firefox browser before starting the Service Design and Deployment.
Check your Firefox browser setting to make sure that Remote Proxy DNS setting is on
Type “about:config” in the address bar
Select “Accept the risk”
In the Search enter Proxy
Enable “network.proxy.socks_remote_dns = true” (Just double click to change the flag)
Please make sure to undo this change after testing, since this could cause potential security risk!
Check your Firefox settings to allow mixed contents
Type “about:config” in the address bar
In the Search enter Mixed
Click on variable security.mixed_content.block_active_content
Change the value to False (Just double click to change the flag)
Below are the portal URL & User Login details to connect to the ONAP portal
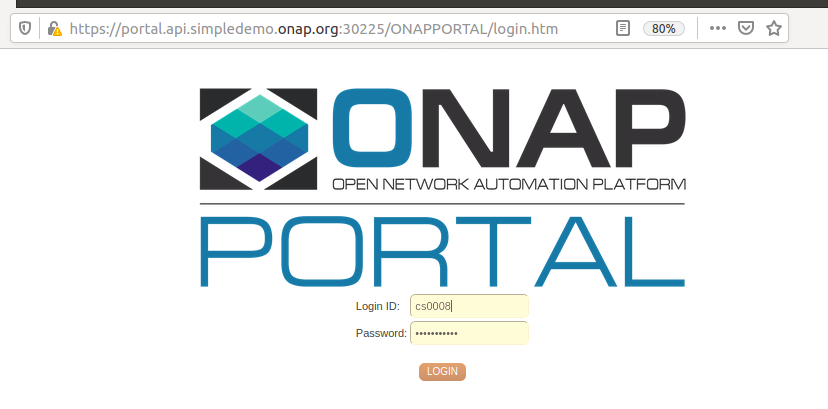
https://portal.api.simpledemo.onap.org:30225/ONAPPORTAL/login.htm
User login credentials and roles
Username=cs0008, password=demo123456!, Role=DESIGNER
Username=demo,   password=demo123456!, Role=ADMIN
Note
From F release onwards, service design and deployment can be done with cs0008 and demo users
Ex: To open portal URL from FireFox browser and accept SSL certificate exception after the settings
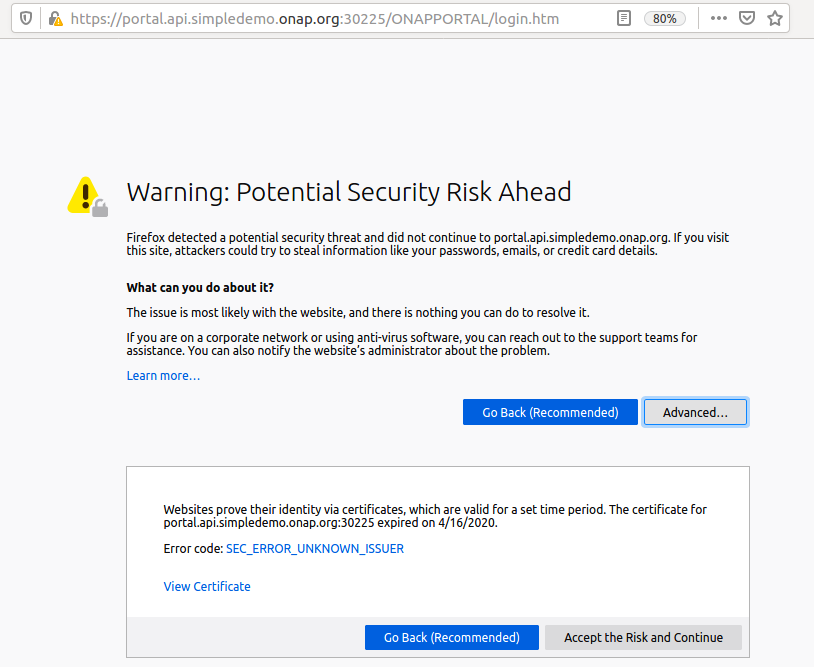
Login into the portal as designer (cs0008) and enter password (demo123456!) then click on LOGIN
Service Design & Distribution using SDC GUI
In this section, you will learn the following through the SDC GUI
How to create a Vendor License Model
How to create and onboard Vendor Software Product
How to create a Service
How to distribute a Service
Let us start by creating the VLM
Create Vendor Licence Model (VLM) in SDC
Login to the ONAP portal as designer cs0008 / demo123456!
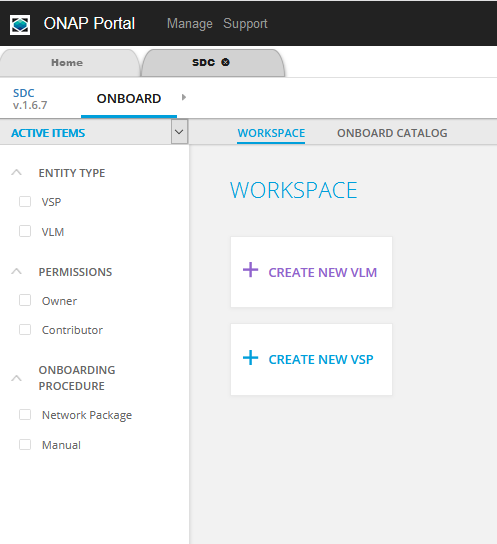
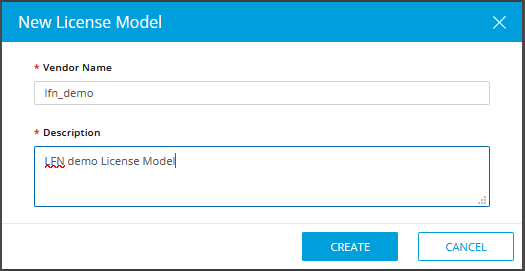
Go to SDC → ONBOARD → WORKSPACE → CREATE NEW VLM (Enter below attributes and Create)
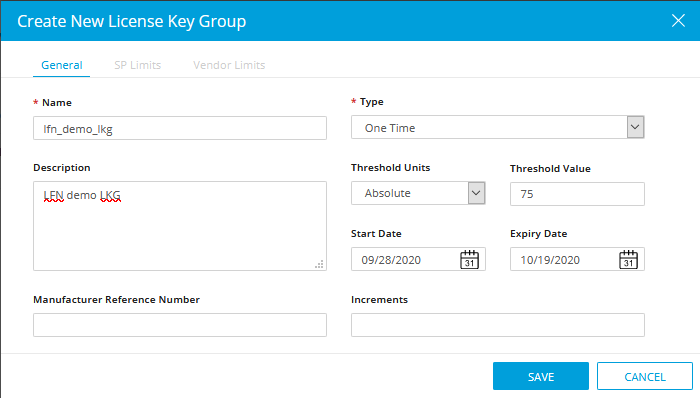
Create New License Key Group
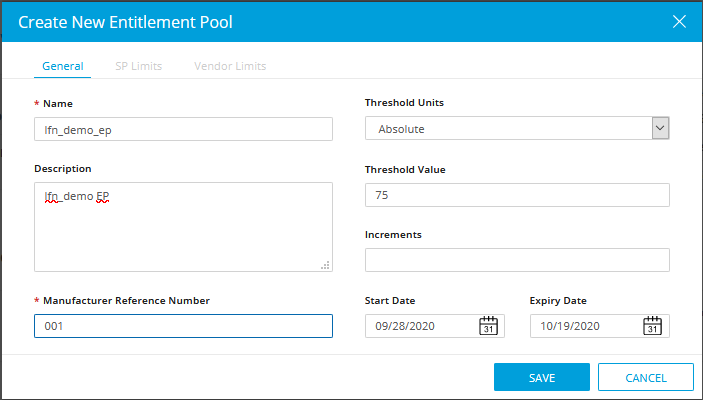
Create Entitlement Pool
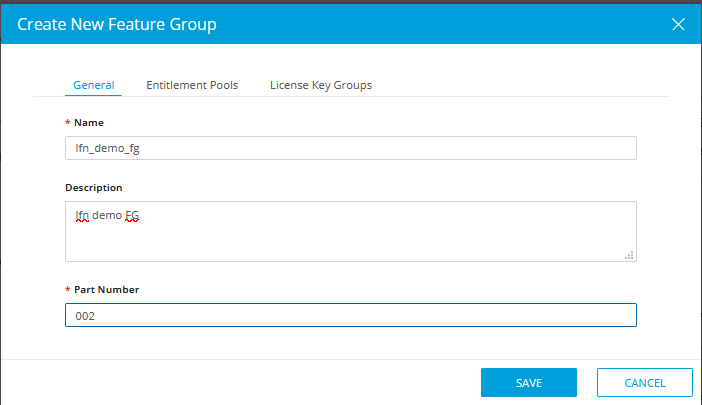
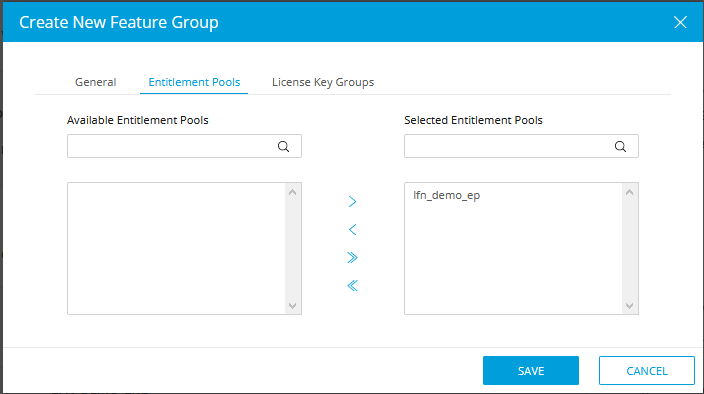
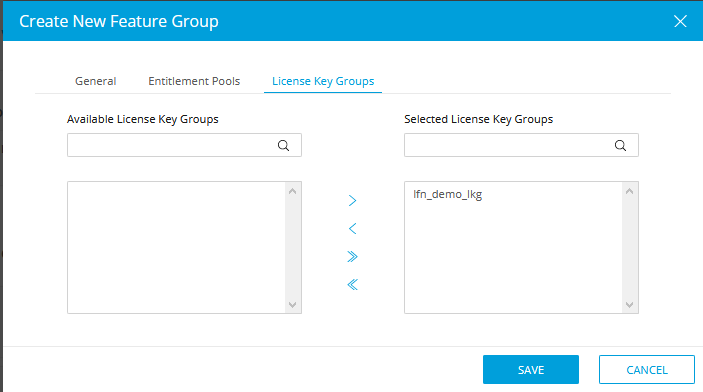
Create Feature Group (Assign Entitlement Pool & License Key Group in other 2 tabs)
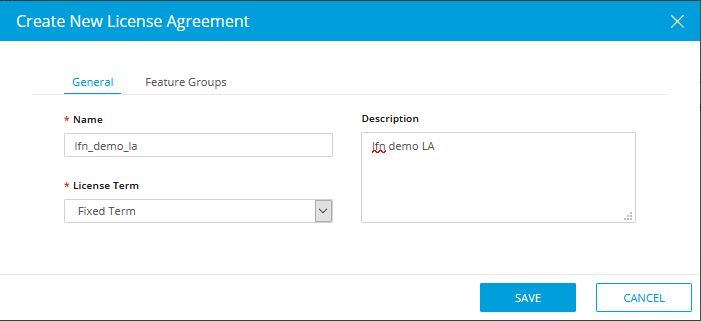
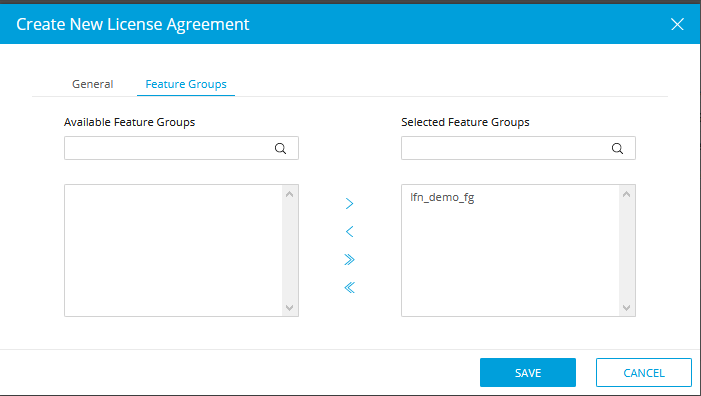
Create License Agreement (Assign Feature Group under the Feature Group Tab)
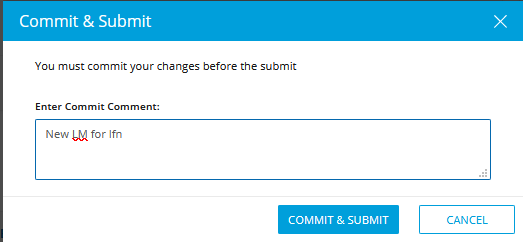
Click Submit (Top Right Corner of the page) and fill comment then press Commit & Submit
Create Vendor Software Product (VSP)
Prerequisite: Download VNF Heat package from gerrit
and copy the required HEAT package & use it while upload the package
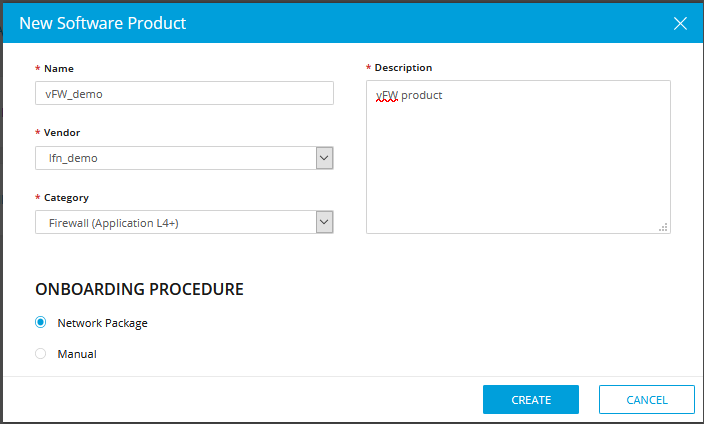
A. Go to SDC Home → ONBOARD → WORKSPACE → CREATE NEW VSP (complete all the fields, click on Network Package checkbox then click create)
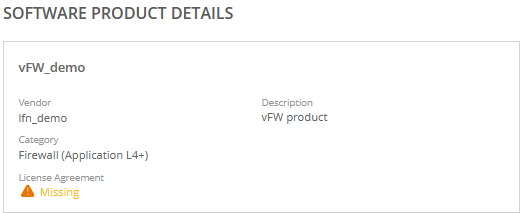
Assign the license Agreement by selecting the Missing icon
Select the Licenses drop down box (populate all three fields)
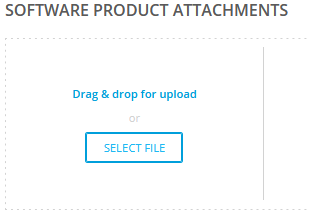
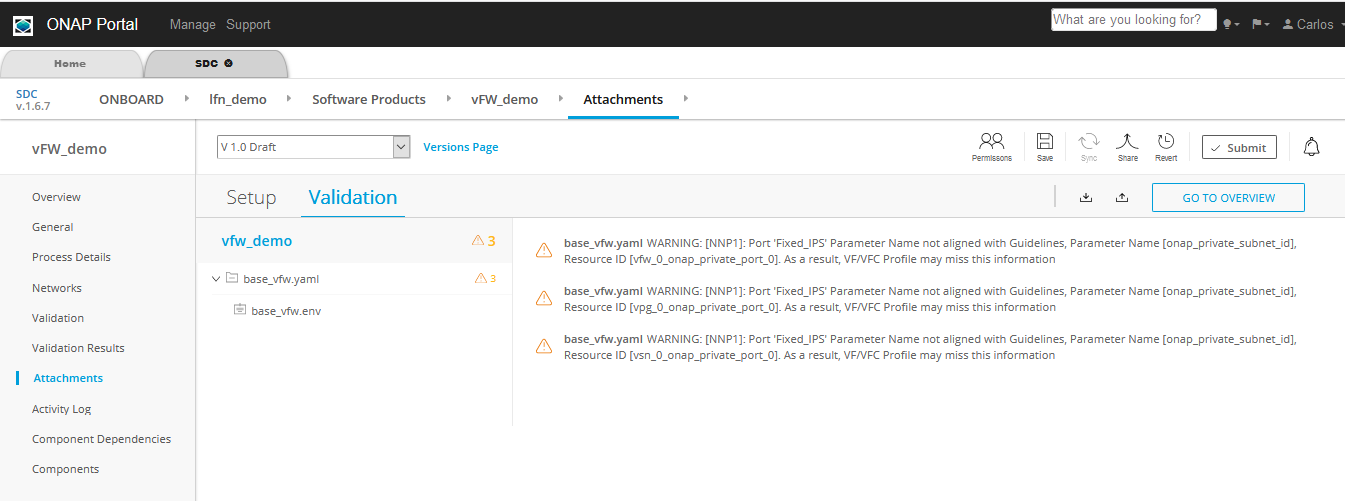
Go to Overview (Left hand side bar), select Software Product Attachments in the right pane, click Select file
Import HEAT package (ex: vfw_demo.zip) by clicking Select File Button. This file should be copied to your local workstation where the browser is running.

It will take you to the setup page
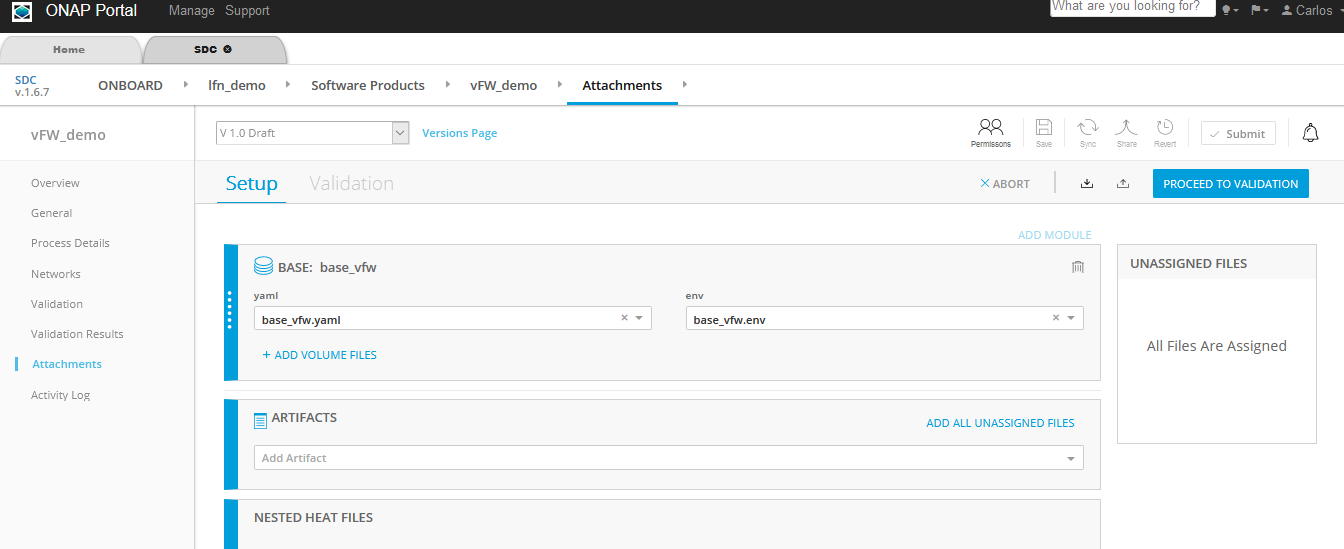
Click on “PROCEED TO VALIDATION” and ignore warnings
Click Submit (right corner), fill the comment then press COMMIT & SUBMIT, you will see submit successful message

Import Vendor Software Product and certify
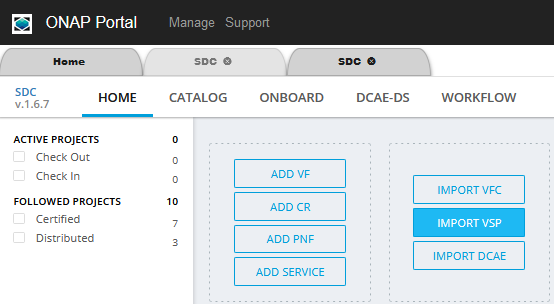
Go to the SDC Home page click Import VSP button
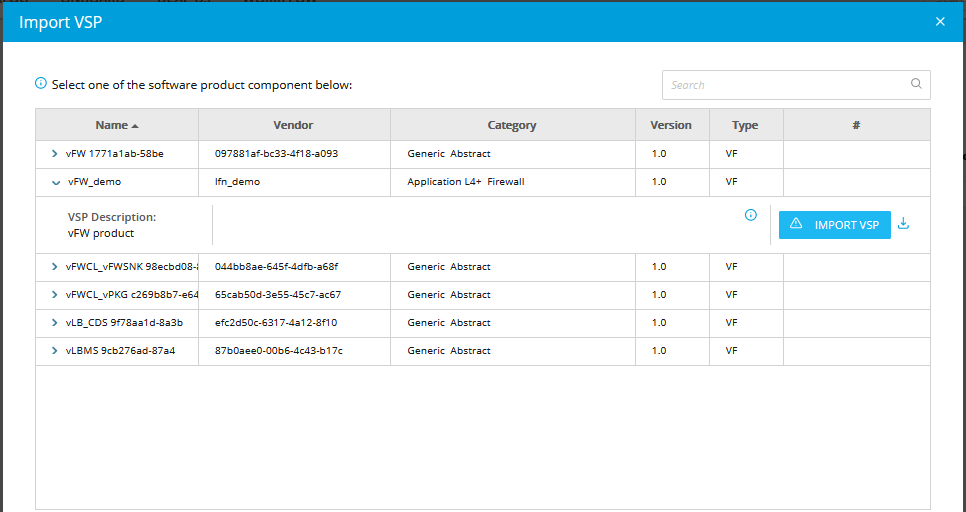
From the Import VSP box, expand a VSP name and click the Import VSP icon
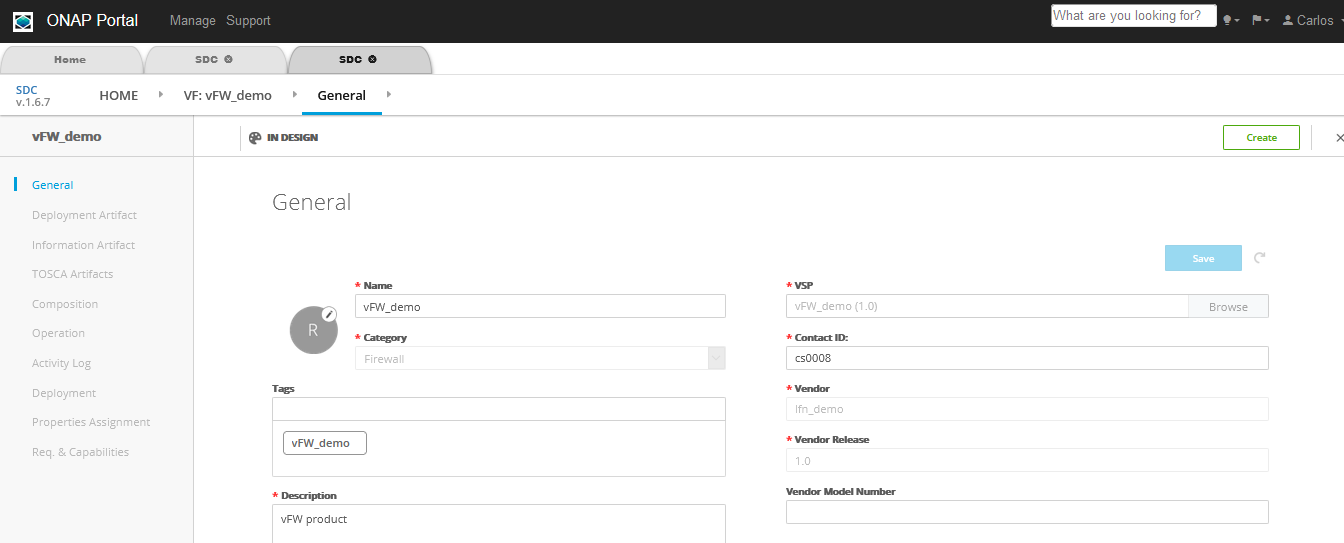
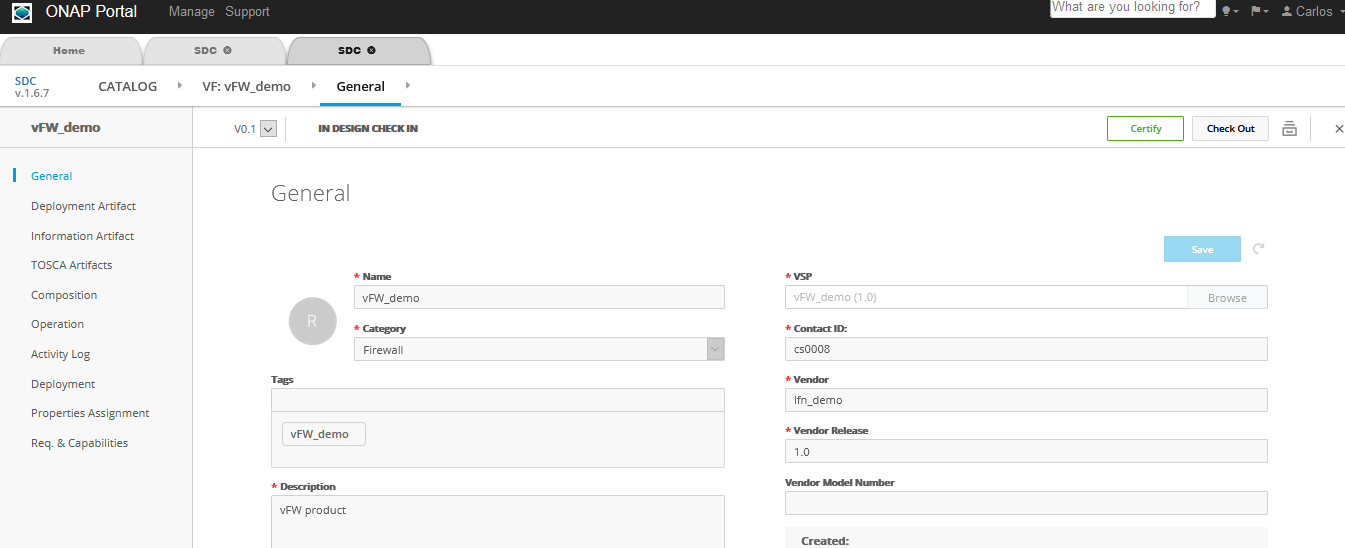
In the General section, complete all fields then click create (top right corner)
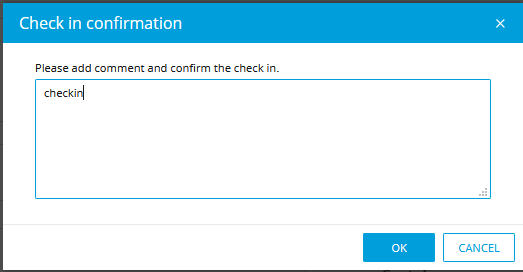
Click Check In to save changes (top right corner), enter a comment and click OK
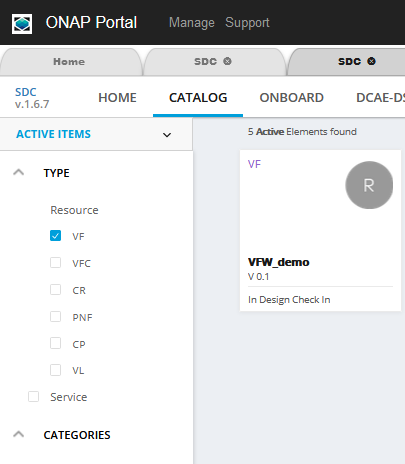
click CATALOG and search for the checked-in VF, you will see your VF In Design Check In state
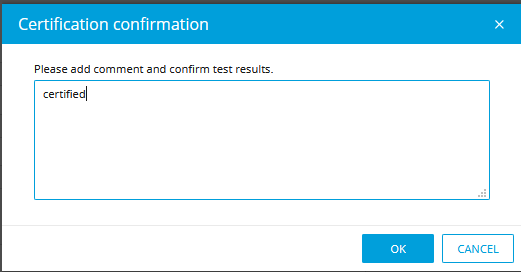
Click the VF and click certify (top right corner), enter a comment then click OK
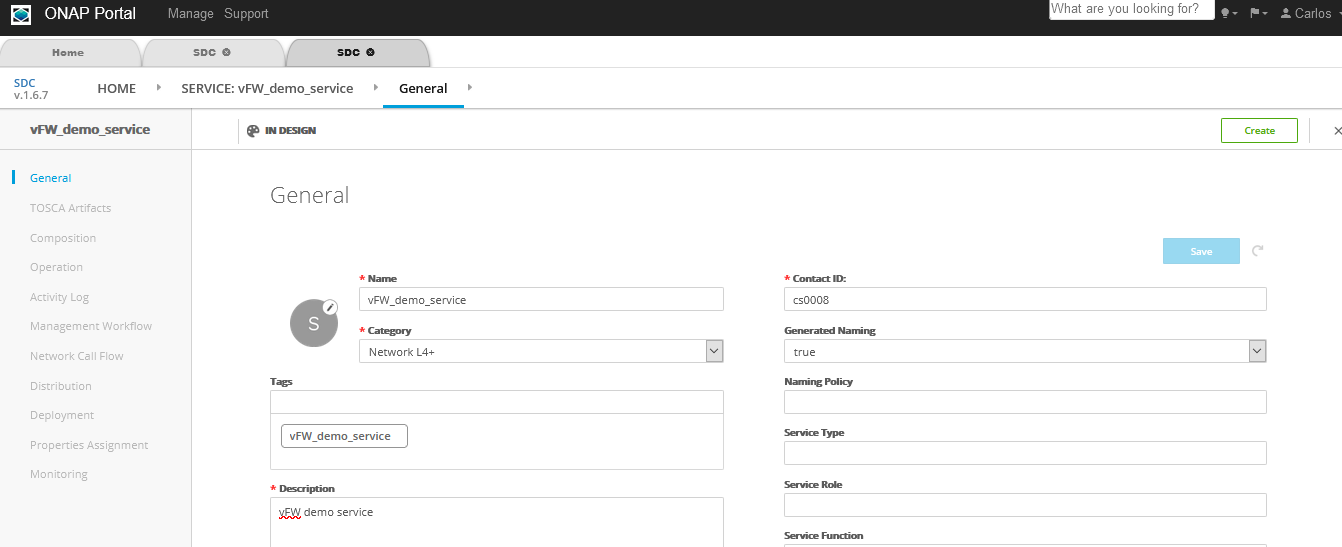
Create a Service and certify
Go to SDC UI → Home Page and Select the Add Service Button
B In the General section, complete all fields then click Create
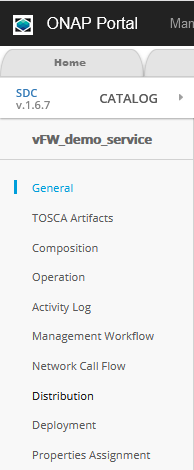
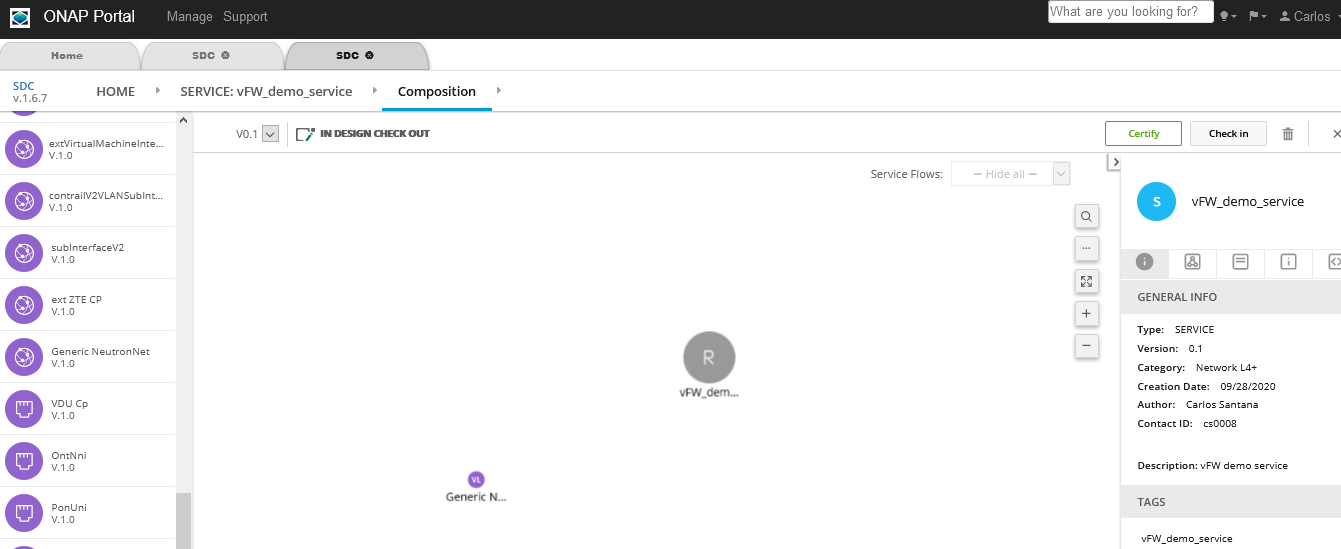
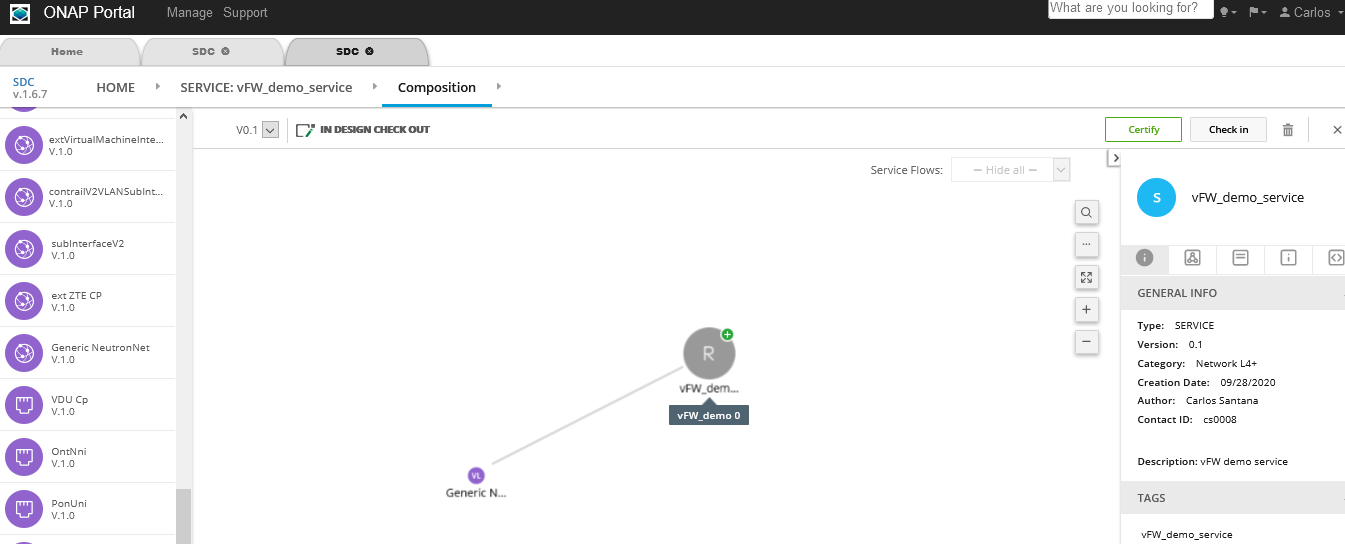
select the “Composition” Menu on the left hand side menu bar
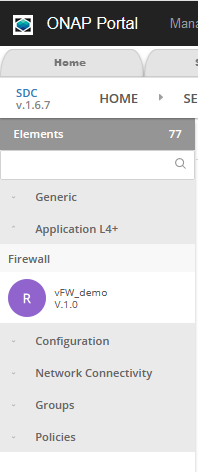
On the Composition Page, Search for the vFW_demo service (look under Application L4+)
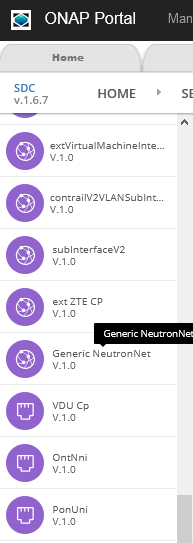
On the Composition Page, Search for Generic NeutronNet (look under Generic/Network Elements)
Drag and drop vFW_demo created earlier during onboarding & the Generic NeutronNet onto the right hand side palette
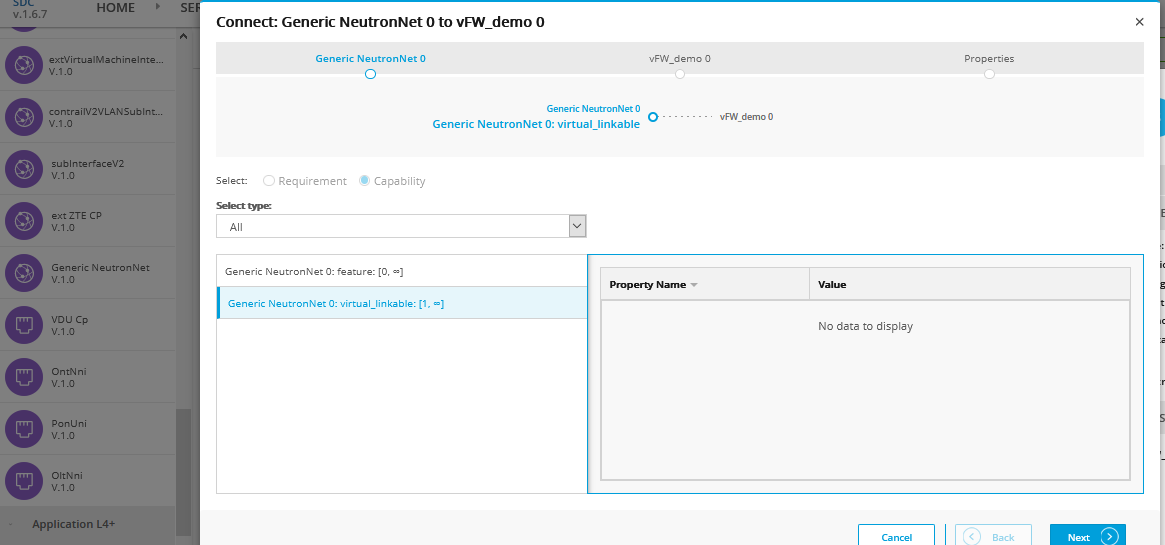
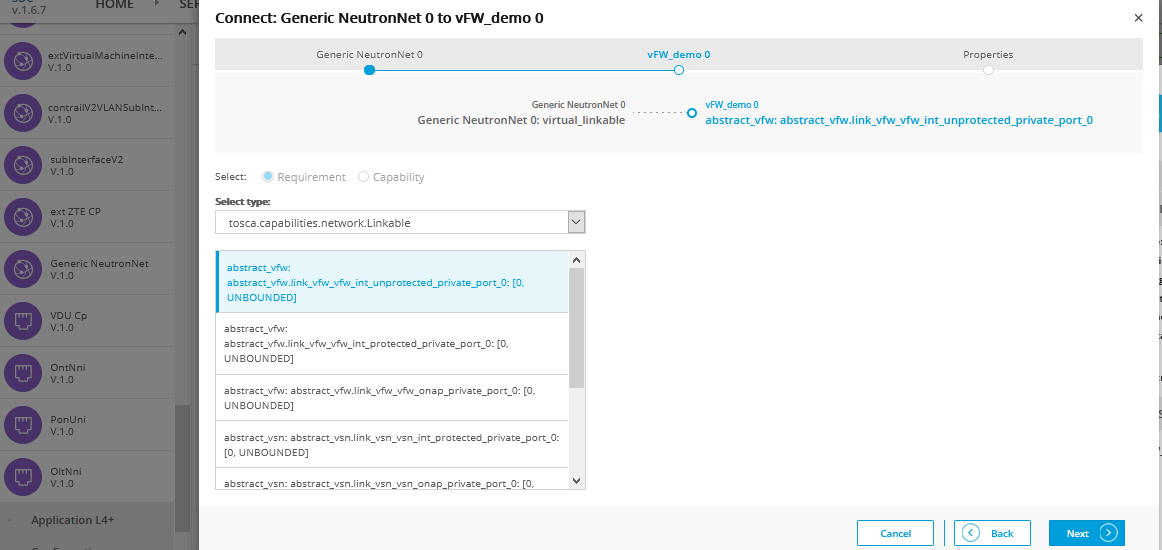
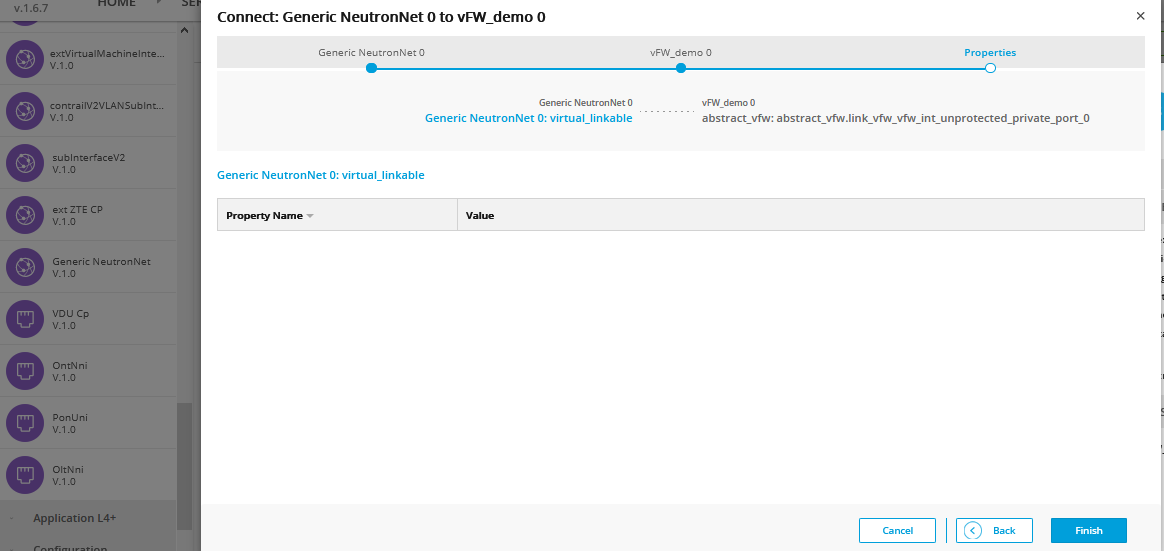
G. Connect the elements by connecting + signs and Select appropriate options for Requirements and Capabilities, click Next then click Finish at the end
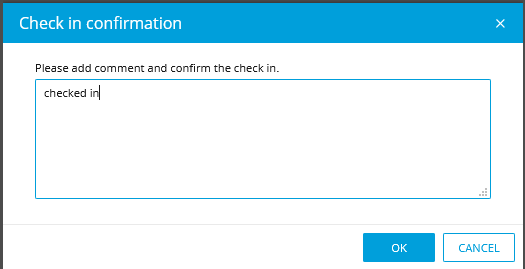
Click Check In to save changes, Enter a comment and click OK
I. click CATALOG and search for the checked-in Service, you will see you service is in Design Checkin state
J. Click the Service and click Certify, Enter a comment and click OK, you will see certification succeeded message


Distribute the Service
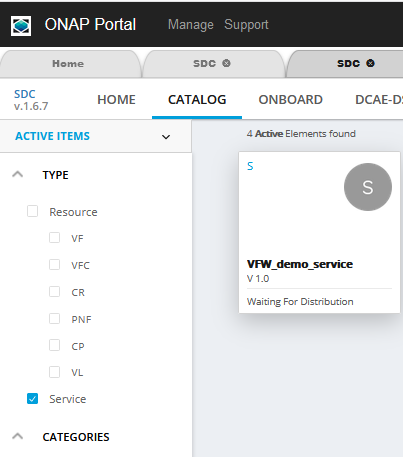
A. From the SDC HOME page, click CATALOG and search for the service (it will be in Waiting For Distribution state)
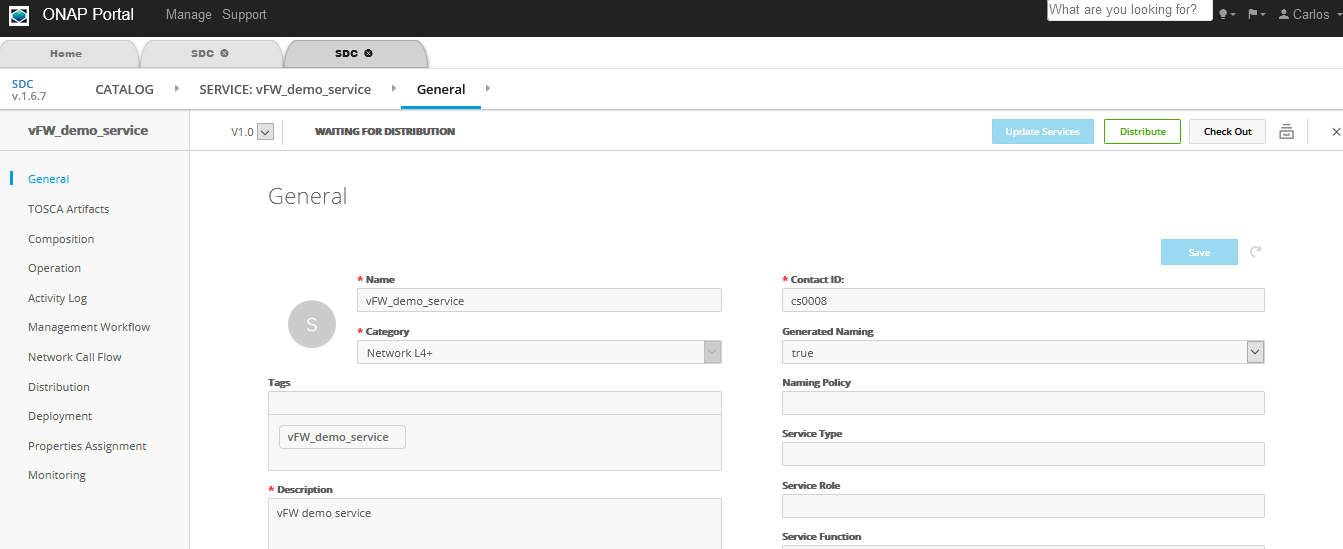
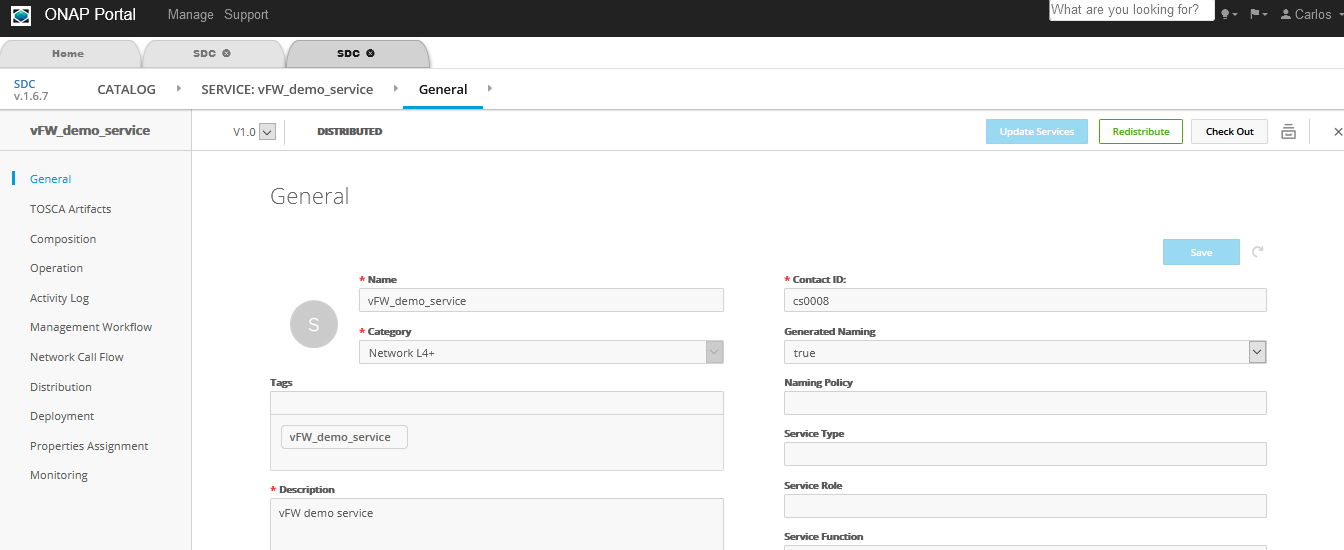
Select the service that is Ready for Distribution, click Distribute (top right corner)
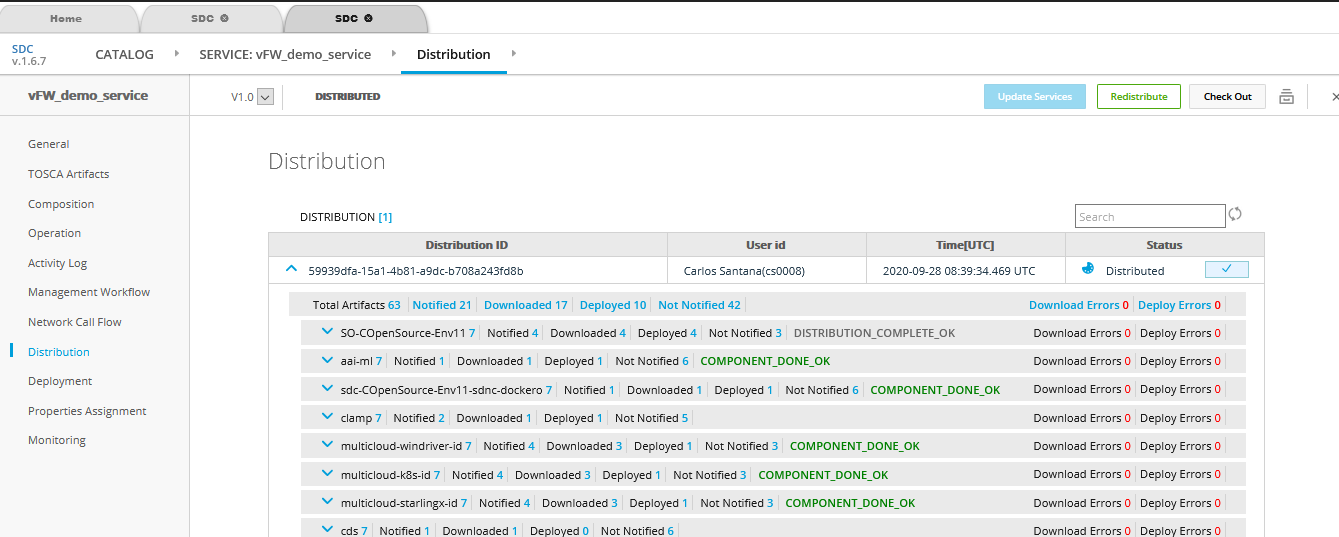
To Monitor Distribution, click on Distribution on the left pane